Using Briefcase
|
The webmail Briefcase feature lets you share and manage documents that you create in your Briefcase or documents and images that you upload to your Briefcase folders. Use Briefcase to save files in your webmail account so that you can access these files whenever you log in to your account from any computer. You can share your Briefcase folders with others who can view and edit the files. You can create multiple Briefcase folders and then upload any type of file from your computer or your computer network, save attachments sent with your email messages, and create new documents. A file in Briefcase is a copy of an original, whether the file is on your computer or an attachment to your email. Any changes you make to a file in your Briefcase does not change the original.
We have included step-by-step instructions below on tackling the most common Briefcase tasks (see them listed directly to the right). Click on a task description (e.g., Working in Briefcase) and it will allow you to jump to specific instructions below. Then, click the browser back button to return to the top of this page. 
How to Create Briefcase FoldersStep 1. Go to Briefcase > Folders Step 2. Click the gear icon and select New Briefcase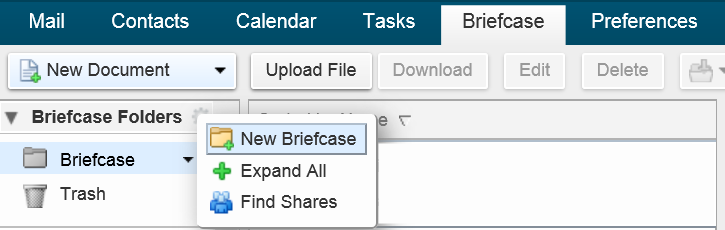 Step 3. Enter a Name for the new Briefcase folder. Please note: The Briefcase folder name must be unique within the hierarchy of all of your mailbox folders. This name cannot match any top-level folder in your mailbox, calendar, or address book. For example, if you have a calendar named Holidays, you cannot name a top-level Briefcase "Holidays". Holidays could be a name of a Briefcase within another Briefcase. 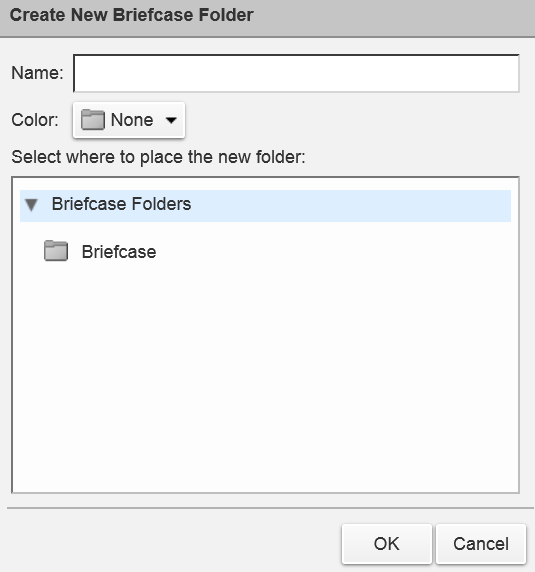
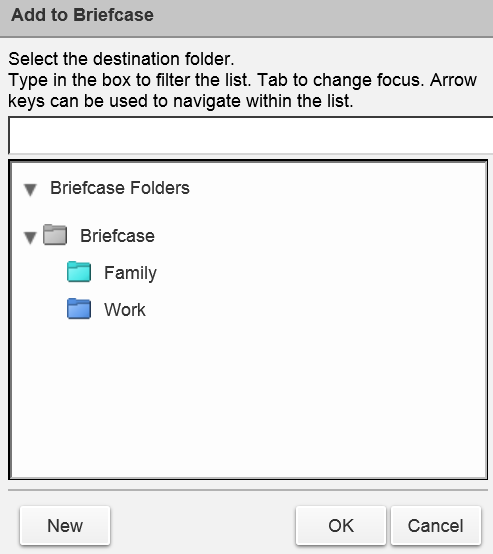
Step 5. Select the folder hierarchy. You can create a new top-level Briefcase, or you can place it under an existing Briefcase. Step 6. Click OKHow to Add Files to Your Briefcase FoldersUploading a file copies it from your personal computer to your webmail account. This makes the file available any time you log into your account. You can upload files in the following ways:
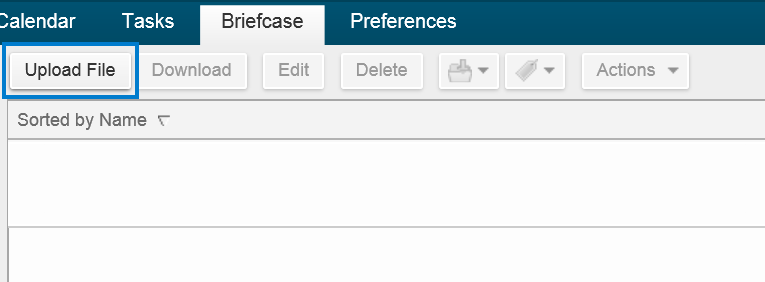
Step 1. Go to the Briefcase tab, click Upload File 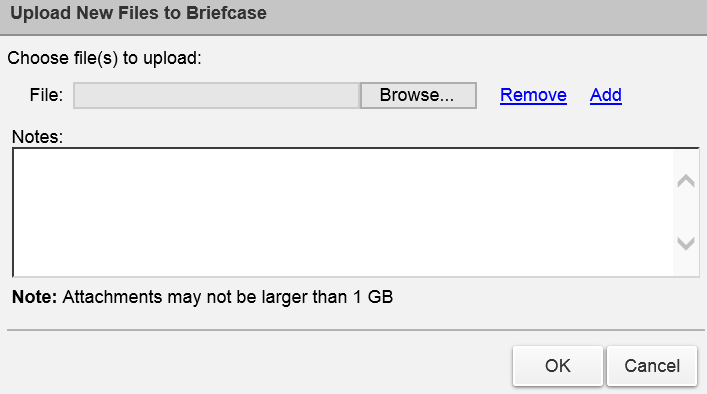
Step 4. To add another file, click Add. You cannot upload a file with the same name to the same Briefcase. If a file is uploaded that already exists in the folder, an Upload Conflict dialog displays. You can either click Yes to upload the file (overwriting the existing file), or click No. The version number is updated if a file is overwritten. Step 5. When all files are uploaded, click OK Please note: If you selected the wrong Briefcase, you can use drag and drop to move the file to the correct Briefcase folder. If the file is too large, a warning displays. Files that you upload impact your account quota.
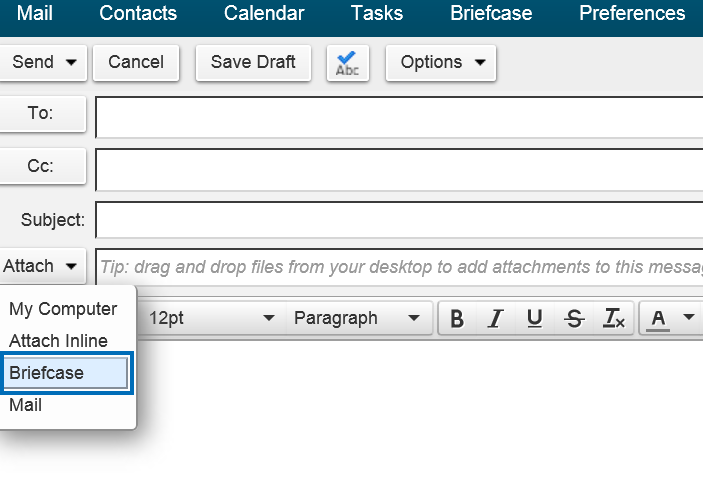
Step 1. To add an attachment to an email message, click Briefcase in the drop menu below Attach Step 4. Click OK. A copy of the attachment is put in our Briefcase folder. Please note: If you are managing your quota, you may want to delete the attachment in the email when you add upload the attachment to your Briefcase.How to Check Out and Check In Files to BriefcaseYou can open files in your Briefcase any time you log on to your account. You must have the appropriate software application to open and read or update files that you did not create with the documents tools in Briefcase. If you have shared a Briefcase with others, you may want to use the Check Out and Check In feature of Briefcase to manage editing of files. The Check Out and Check In process is slightly different depending on whether the file is one you uploaded to your Briefcase or a document created in Briefcase. Step 1. Go to the Briefcase tab and select the file that you want to check out Step 2. Right click the file and select Check Out File Step 3. In the dialog window that displays, select the file Step 4. Edit the file with the appropriate tool and save it Step 5. After you saved the file to your computer, right-click on the locked file from the Briefcase file list and select Check In File Step 6. In the Check In File to Briefcase dialog window that opens, browse to the edited file on your computer. If you want to add information about changes, enter this in the Notes text area. Step 7. Click Check In. The file is uploaded. The lock is removed and the file details, including a new version number and notes, are updated in the file list.How to Manage Version Control of Files in BriefcaseVersion control lets you manage changes to your documents in Briefcase. Each time you make a change to a file and save the file, the version number is updated. The latest version number is displayed in the file document list. View Version History of a Briefcase File - Click the arrow in the preview pane to see the version history and the authors. If Preview Pane is turned off, you will see a column with the version number. Restore a Document to the Previous Version - Right-click on another version and select Restore as Current Version. Delete a Document from Briefcase Step 1. Go to the Briefcase tab and select the document you wish to delete Step 2. Click Delete. Each version of a file counts against your account quota. Rename a File - Renaming a file creates another version of the file. Step 1. Go to the Briefcase tab and select the document you want to rename Step 2. Right-click on the file and select Rename. The Name field is changed to an editable field. Step 3. Edit this field to change the file name. Remember to keep the same extension in the file name or it may not be editable later. Step 4. Click EnterHow to Create Documents in BriefcaseYou can create documents in Briefcase and design the content layout using the rich-text format tools available in Briefcase. Step 1. Go to the Briefcase tab and select the Briefcase folder where you want to create a new document 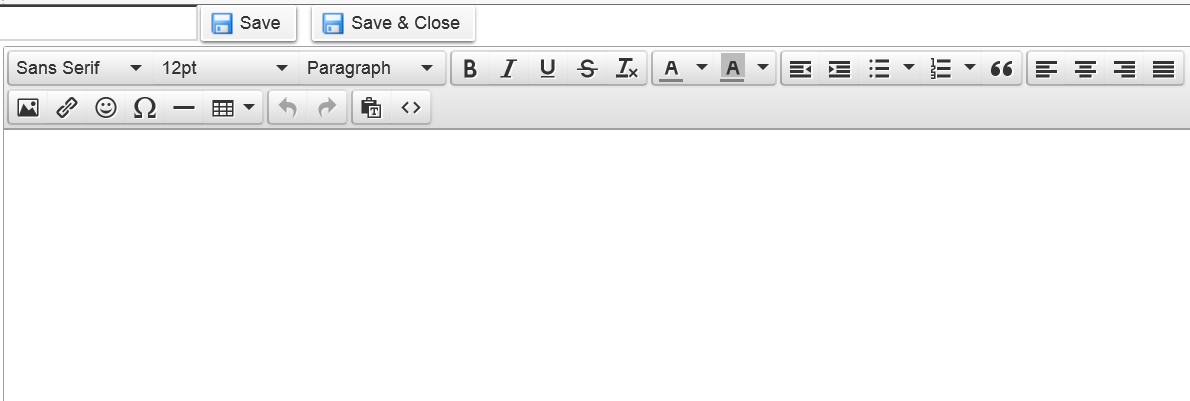
Step 4. Enter the name of the new document in the Save field Step 5. Click Save Format with the Rich-text Editor - When you edit using the rich-text editor, the two-row toolbar lets you easily format your page layout. Select, change, or add the following:
These formatting tools work the same as many word processing tools. How to View Files in BriefcaseStep 1. Go to the Briefcase page Step 2. Click View on the Task toolbar to select how to display the file in the preview pane How to Work in BriefcaseIn Briefcase, you can open files to work in them, create new documents directly in the Briefcase folder, move files, tag files and send an email with a link to a file in your Briefcase. The toolbar is your direct link to many of these features. Open Files in Briefcase - You can open files in your Briefcase from any computer. You must have the appropriate software application to open and read or update the file. Common file formats such as text files, HTML files, and images such as .gif or .jpg files can be opened in a variety of programs. Step 1. Go to the Briefcase tab and select the file to open Step 2. Click Download. Browse to the application to open the file, or save the file to your computer. Move Files in Briefcase - You can move files from one Briefcase to another. Step 1. Go to the Briefcase tab Step 2. Right-click the file you want to move Step 3. Click Move and select the destination folder or create a new Briefcase folder Step 4. Click OK Tag a File in Briefcase Step 1. Go to the Briefcase tab and select a file to tag Step 2. Click the Tag drop-down menuHow to Send Files from Your BriefcaseSend an Email with a Link to a File - You can send an email that has a link to a file in Briefcase. The recipient must have appropriate share permission to work with the file and the appropriate software to open the file. Any modifications made to a linked file are reflected in the file in your Briefcase folder. Step 1. Go to the Briefcase tab and select the file to share Step 2. Click Actions and select Send link(s). A confirmation pane opens reminding you that the recipient must have permission to view the content of the folder. Click Yes to proceed.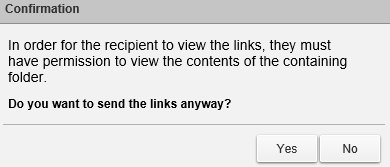 Step 3. A new compose email message opens with the link displayed in the body of the message. Complete the email message and click Send to mail the message. Send a File as an Email Attachment - You can send a file as an attachment to an email directly from Briefcase. The recipients must have the appropriate software to open the file. Step 1. Go to the Briefcase tab and select the file to attach. Step 2. Click Actions and select Send as attachment(s). The email compose page opens with the file attached. Step 3. Add the recipient’s email address and complete the email message. Step 4. Click Send. |
|