Setup Email Account in iOS 13
This easy guide will help you set up your iPhone or iPad to receive and send email using your proper account settings.
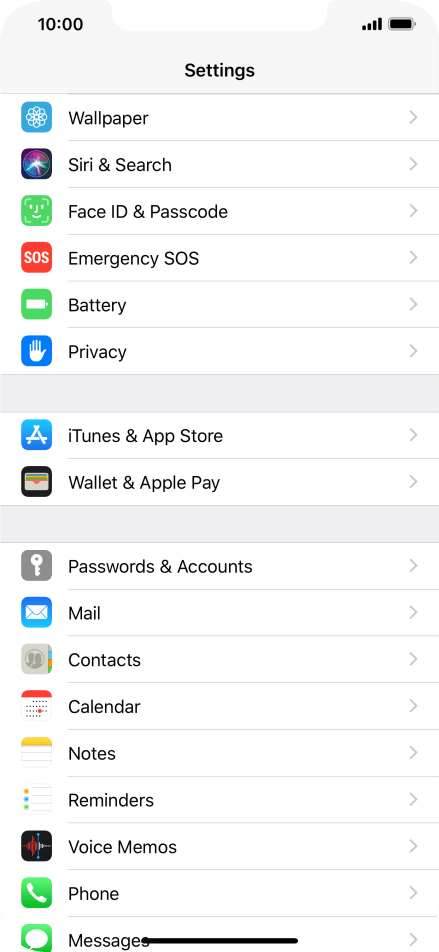
Step 1. Locate your email settings:
- On your iPhone or iPad, open Settings (typically on your homescreen)
- Tap Passwords & Accounts
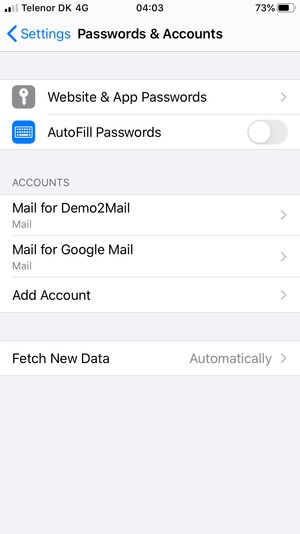
Step 2. In the Accounts & Passwords section:
- Tap Add Account
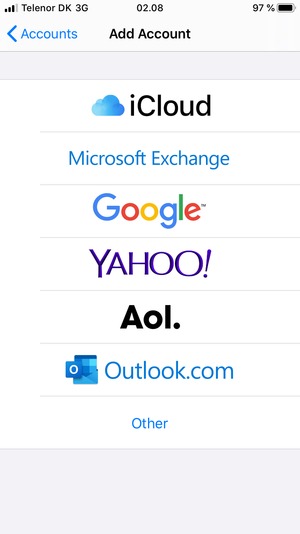
- Tap Other
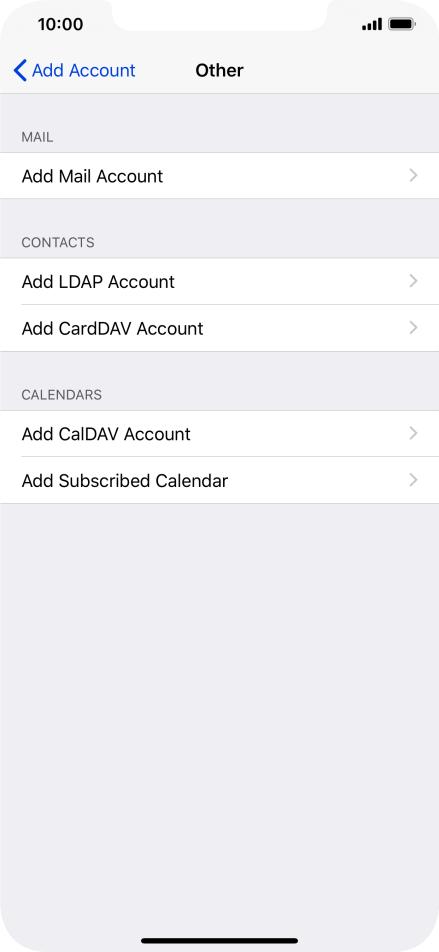
- Tap Add Mail Account
Step 3. Enter

- Hit NEXT
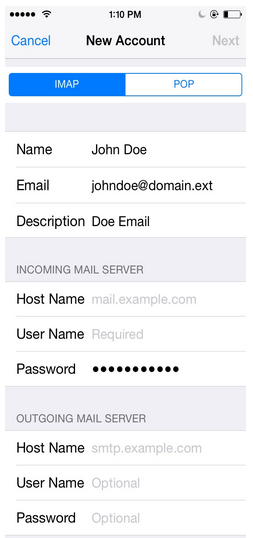
Step 4. Enter Mail Server Information
- Select IMAP on the top of screen
- Update your INCOMING MAIL SERVER settings:
- Edit the Host Name field to: mail.powerxmail.com
- Ensure the User Name is your full email address
- IMPORTANT: Ensure that the Email username is your full email address (ex: myemail@baileycable.net) and that your Password is correct
- Update your OUTGOING MAIL SERVER settings:
- In the Host Name field enter: smtp.powerxmail.com
- In the User Name field enter: Your full email address
- In the Password field enter: Your email password
- Tap Next
- Tap Save
- Hit SAVE
Congratulations, your email is now configured!
|