Setting Up Appointments, Meetings & Events
|
The webmail Appointments, Meetings & Events feature is available to help you create single or recurring appointments, meetings and events. While creating an appointment you can see if attendees are free before inviting them, reserve a room and equipment and write a message that is sent with the invite. Regarding the scheduling of equipment, please note that Administrators set up equipment accounts and configure the equipment’s scheduling policy. When you set up a meeting and schedule equipment for use in the meeting, you select the equipment and “invite” it to the meeting. A meeting can be declined if the equipment already has a meeting scheduled for that time. In some cases, an equipment scheduling policy is set up to allow the equipment to accept dates in recurring meetings even if there are conflicts. You receive an email showing which dates conflict. We have included step-by-step instructions below on tackling the most common webmail Event-based tasks (see them listed directly to the right). Click on a task description (e.g., Cancelling a Meeting) and it will allow you to jump to specific instructions below. Then, click the browser back button to return to the top of the page. 
How to Create an Appointment QuicklyThe QuickAdd option makes it easy to quickly create an appointment for yourself. Please note that the QuickAdd feature is an option. If you would prefer to always open the Appointment page when you double-click or drag on the calendar, disable this feature from your Calendar Preferences. Step 1. Right-click on either the mini-calendar or the start time in one of your calendar views. You can select to create a New Appointment or a New All Day Appointment. 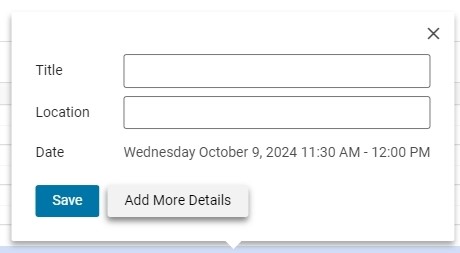
Step 3. In the Location text box enter where the meeting is to be held. If the location is in a directory, when you start to type, locations that match are listed. Step 4. Click Add More Details to access more event settings. Step 5. Define the Start and End times or select All Day, if applicable. Step 11. If this appointment should be added to a calendar other than the default Calendar, select the calendar.
Step 12. Click Save
How to Create a Meeting from the Event PageYou can create an appointment from the Calendar tab. Step 1. From the Calendar tab, click New Event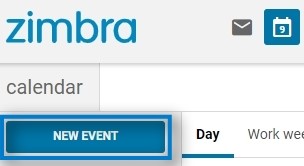 Step 2. If the From field displays above the Subject line, you created more than one persona for your account. Select the identity to use when creating this appointment. 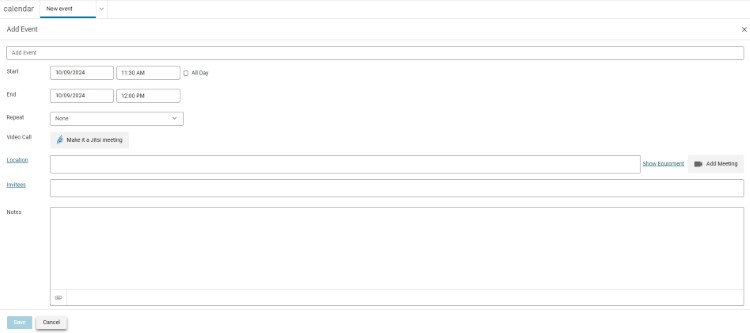 Step 3. In the Add Event text box, add a brief description of the meeting. The text added here becomes the description in the calendar. 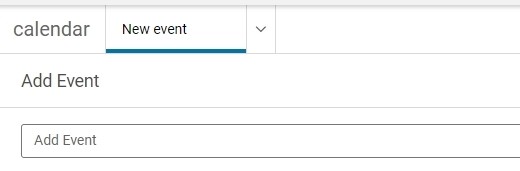 Step 4. Define the start and end day/time. If the appointment is recurring, select how often this appointment should be scheduled in Repeat. Select All day event to make this appointment all day. Step 5. In the Location text box enter where the meeting is. If the location is in the directory, when you begin to type, locations that match are listed. Please Note: If an attendee has set a preference to allow only certain users to see free/busy information and you are excluded from the list, you cannot view the free/busy schedule. Step 7. If some attendees are not required to be at the meeting but you want to invite them, click the down arrow next to their name and select Optional. When the invite is sent, their names are listed as optional. Step 8. In the Notes field, type an email message that will be included in the appointment invitation. To add attachments, click the paperclip icon Step 9. In the Remind drop-down menu, set an alarm notification to remind invitees of the appointment. If you have configured an email address or SMS alert in your Settings > Calendar and Reminders page, check the appropriate box, Email or SMS. If you have not configured a notification, click the Settings and more Cog, go to the Settings > Calendar and Reminders page to set this up. Please Note: Notifications cannot be set on a per-entry basis. This means that whatever settings are in your Settings > Calendar and Reminders will be used for all your notifications, and not only for this particular calendar event or task. Step 10. In the Show as, select the Free / Busy option for this appointment, Under Calendar, select which calendar the appointment should be added to. Step 11. Click Save. How to Use the Scheduling Tool to Find Attendee AvailabilityWhen you schedule meetings, you can check to see when attendees are busy or free so you can find a good time for all attendees to meet. As you add attendees to the Attendees field, a suggestion panel in the overview pane shows availability in 30 minute time slots for the attendees. The default time preference is to suggest time within your working hours and within the attendee’s working hours. Step 1. You can change this if necessary. In the New Appointment page, click Suggest a time. In the Suggest Times pane that opens, click the gear icon 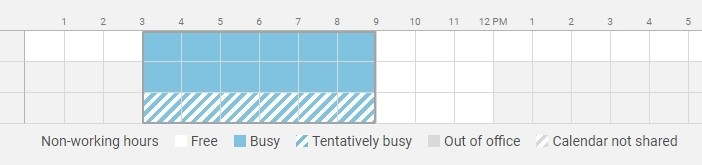
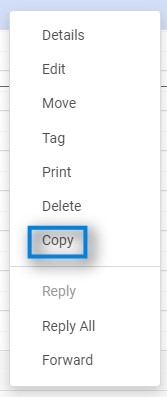
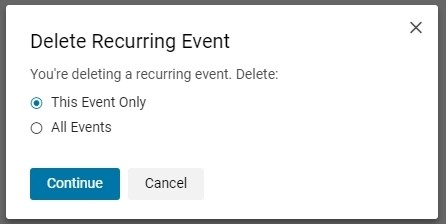
How to Create an Appointment from an Existing AppointmentYou can create an appointment similar to an existing appointment and the existing attendees, location, notes, and recurrent pattern can be quickly set up for new dates and times. You can also modify any of the information before sending the invite. Step 1. Right-click on the appointment to copy and select Copy. The appointment compose page opens with all the information of the copied meeting added to the appointment page. Step 2. To create an appointment exactly as the one you copied, but on another date, you only need to change the start and end date Step 3. Make any other changes to attendees, location, text, etc. Step 4. Click Send and an invite is sent to attendees and the appointment is added to your calendarHow to Use Email Messages to Set Up MeetingsYou can quickly create a meeting request by clicking +Add Event from the email page. You can also create an event from within an email conversation or message under the More menu. Step 1. Click a specific message or conversation and click on ... More Step 2. Click New Event. The Add Event dialog opens the appointment page with the email information populated in the Notes field. The Subject of the appointment is the subject of the message. The attendees are all the email addresses in the To: and Cc: fields of the message, or the most recent message in conversations. Message attachments are not attached to the appointment request. Step 3. On the appointment page, review the meeting request details and make any necessary changes Step 4. Set the time for the meeting, and, if this meeting recurs, set any recurrence Step 5. Click SaveHow to Change an Appointment or MeetingYou can change the meeting or appointment information. If you create a recurring meeting, you can change one occurrence or the series of meetings. You can select to send or not send an email to attendees to update the meeting details. Step 1. Double-click on the meeting that you want to change. If the meeting is recurring, the Edit Recurring Event dialog opens. You can change either a single event of a recurring meeting or all events in the series. 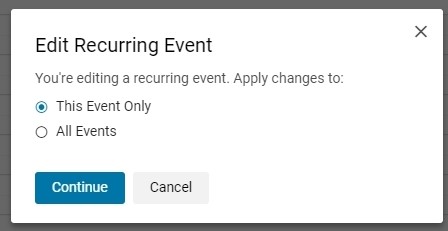 Step 2. Click Continue to open the Appointment page Step 3. Change any information necessary Step 4. The default is to ask the attendees to reply to your invitation.Step 5. Click Save to send the revised meeting details to the attendees How to Cancel a MeetingIf you create a meeting, you can cancel it. If you create a recurring meeting, you can delete one occurrence or the entire series. An email is sent to attendees to inform them of the canceled meeting. Deleting a meeting is permanent; you cannot undo the deletion. Please Note: Only the originator of an appointment can cancel the appointment. Attendees can remove the appointment from their calendars, but they cannot cancel the entire appointment. Step 1. In the calendar view, right-click the meeting and select Delete. A confirmation box appears. |
|