Two Factor Authentication
● Accessing Two Factor Settings
○ Email
○ SMS
Two Factor Authentication is an extra layer of security for your email designed to ensure that you're the only person who can access your account, even if someone knows your password.
Accessing Two Factor Settings
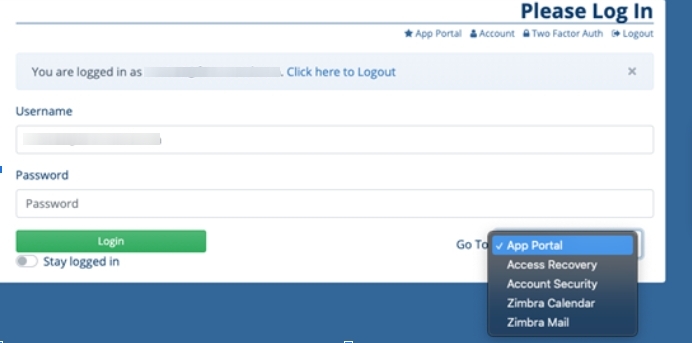
Go to https://mauth.farmerstel.com
You will use a specific dropdown option when managing your Two Factor Authentication settings.
Make sure Account Security is selected from the dropdown when you log in.
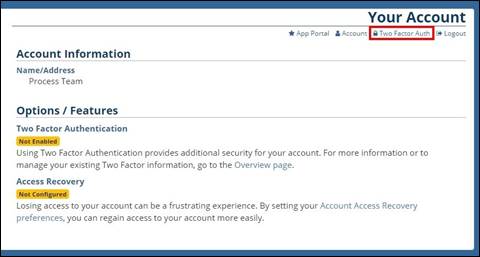
The home screen lists the recovery options as well as if they are set up on the account.
Click the Two Factor Auth option at the top right.
Setting up Two Factor
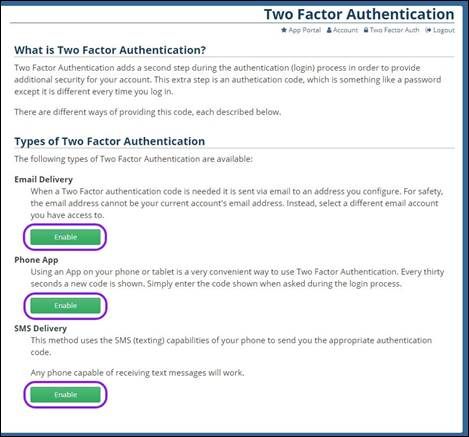
There are three ways to set up Two Factor Authentication.
Email Delivery: You will receive an email with an authorization code.
Phone App: You can use a pre-existing phone app such as Google Authenticator or 2FAS to recieve authorization codes.
SMS Delivery: You will receive a text with the authorization code.
Click the Enable button for the method you would like to use.
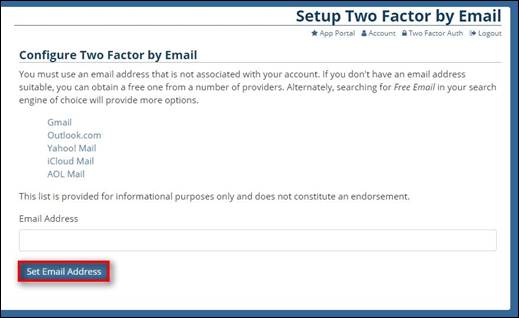
You can use any email address for Two Factor as long as it is not associated with their account.
Once the email address is entered, click Set Email Address.
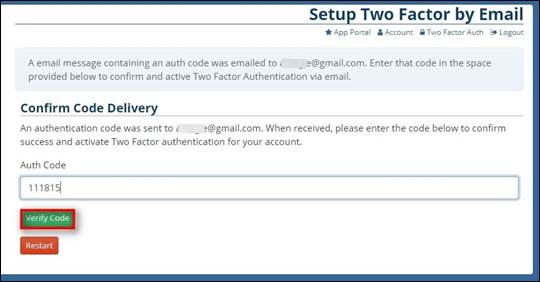
You will receive a verification code on the email account used.
Enter in the given Auth Code and click Verify Code.
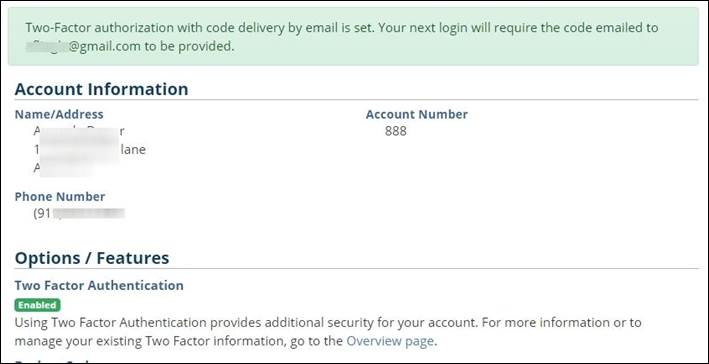
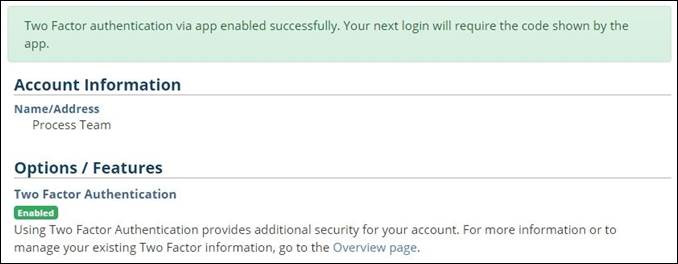
You will then be brought back to the Home screen and showing a message at the top stating that the registration was successful.
You will now see the Two Factor Authentication option enabled in the Options / Features section.
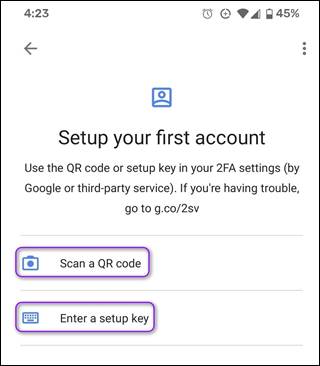
Phone App
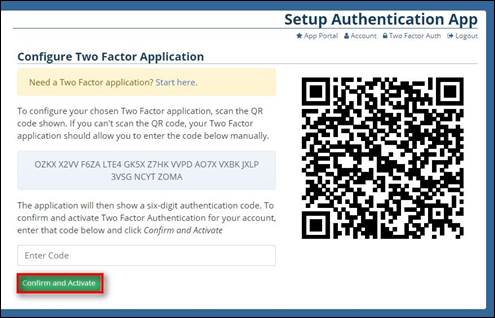
You can use either the QR code or the code on the screen to link the Two Factor App to your Account.
The directions vary depending on the app you choose to use on your device.
Once the Application is linked, you will be given a 6 digit authentication code.
After entering the code, click Confirm and Activate.
Below is an example of a Two Factor Application Interface (Google Authenticator)
You will then be brought back to the Home screen and there will be a message at the top stating that the registration was successful.
You will now see the Two Factor Authentication option enabled in the Options / Features section.
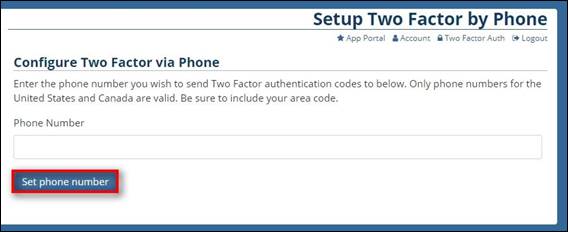
SMS
You can set up the account to recieve SMS text messaging.
Enter in the cell phone number you would like to use and click Set phone number.
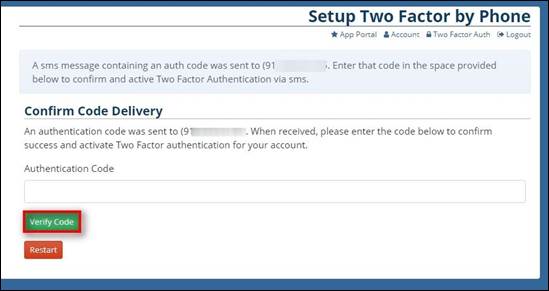
You will receive a text message with a 6 digit code.
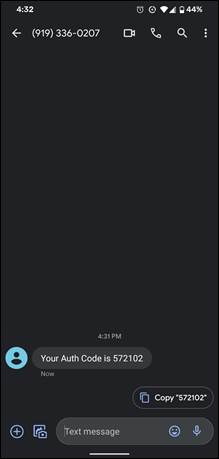
Enter in the six digit code you received via text and click Verify Code.
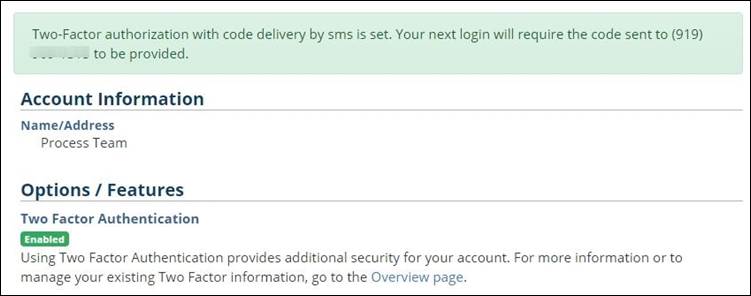
You will then be brought back to the Home screen and there will be a message at the top stating that the registration was successful.
You will now see the Two Factor Authentication option enabled in the Options / Features section.
Disabling 2 Factor Authentication
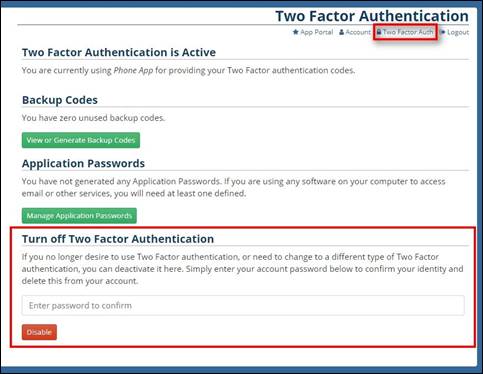
You can disable Two Factor Authentication at any time by logging in and going to the Two Factor Auth option at the top right.
Enter in your Current Password and click Disable.
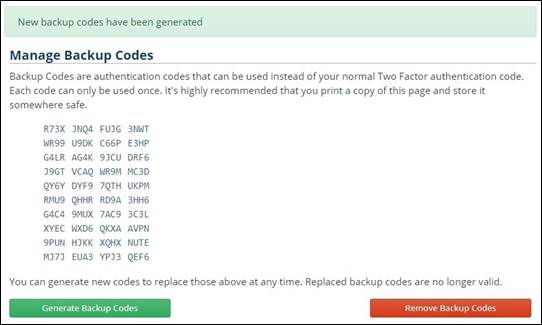
Backup Codes
Backup codes are one time use codes that can be generated and used in the occasion that you are unable to get to the code sent by the Two Factor Authentication.
Click the Two Factor Auth option at the top right, then select the View or Generate Backup Codes button.
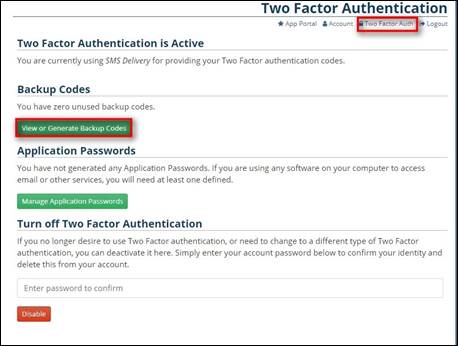
Click the Generate Backup Codes button to generate new codes and the Remove Backup Codes button to remove all codes previously generated.

There will be 10 backup codes listed as 16 digit Alphaneumeric passwords. Each will be one time use.
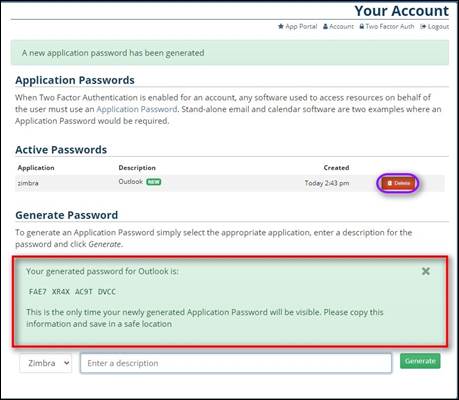
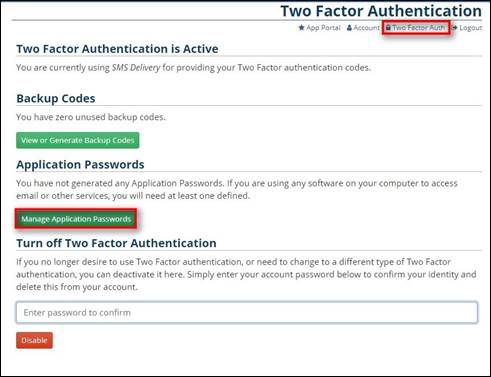
Application Passwords
Application Passwords are used instead of your regular password for any Mail Clients (Outlook, Apple Mail, Thunderbird, etc.). If you have opted into Two Factor Authentication for your email you will need to generate an Application Password for each of the Applications/Devices that you are using.
Click the Two Factor Auth option at the top right, then select the Manage Application Passwords button.
Under the Generate Password Header, you can select the application you would like to set the password for. For your email account, you will need to select Zimbra.
Type in a description of what this password will be for and then click Generate.
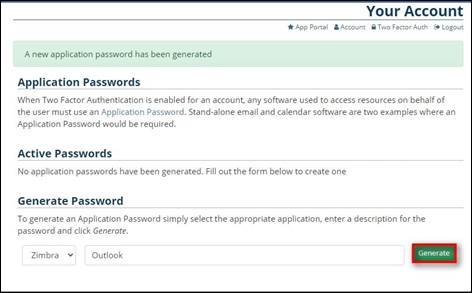
Once the password is generated, you will need to write it down as you will not be able to view the password again once you have left this screen. You will then need to enter the password into your Mail Application. Guides for this are available in the navigation menu at the top of the screen.
To remove old passwords, click Delete under the Active Passwords section.