Setup Email Account in Thunderbird
This guide will help you set up a new Thunderbird email account with the proper server settings.
Step 1. Setting up Thunderbird for the first time
-
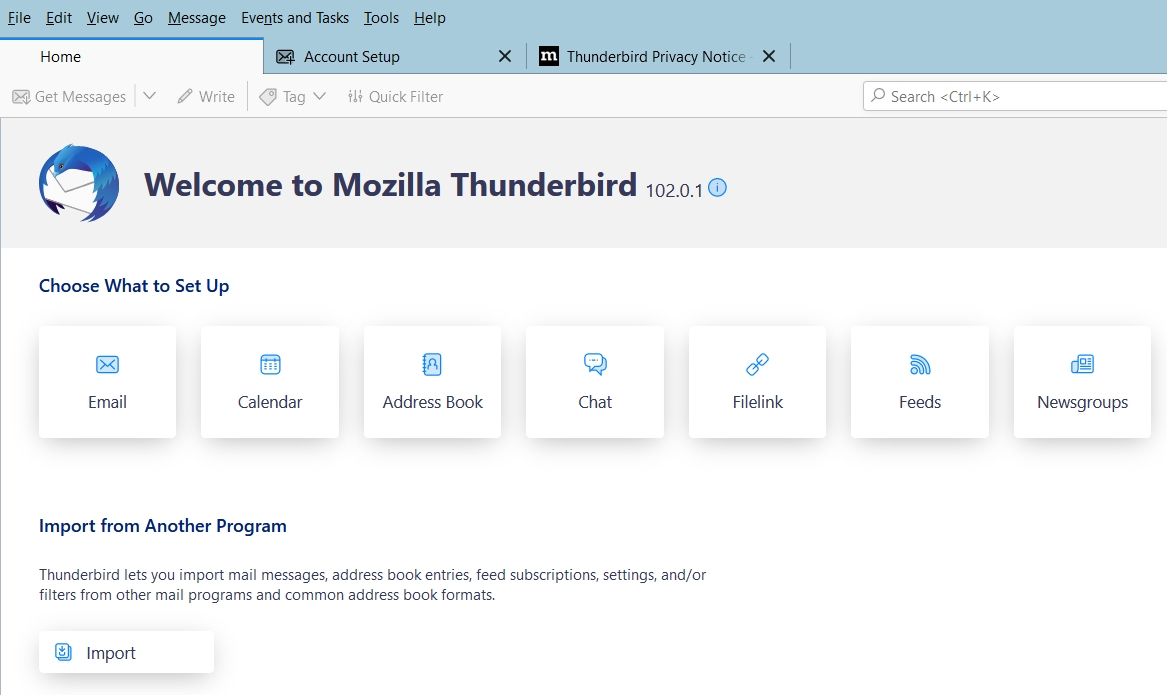
Open Thunderbird and make sure you are on the HOME Tab
- Click on the Email icon under "Choose What to Set Up"
- If you see the below image, click here to continue to the next step, otherwise continue scrolling
- If your Thunderbird does not have options to setup a email on the home page, hit the pancake icon (3 bars) in the top right

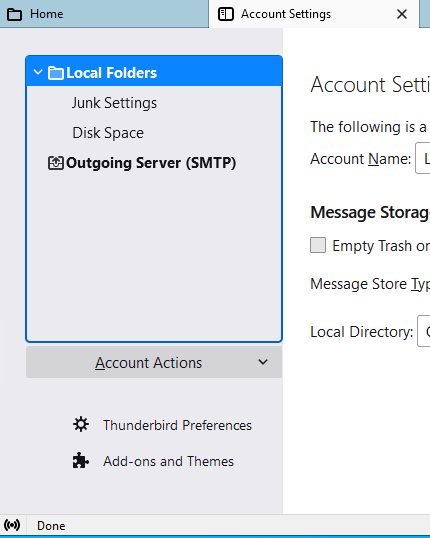
- Next, select Account Settings from the dropdown list
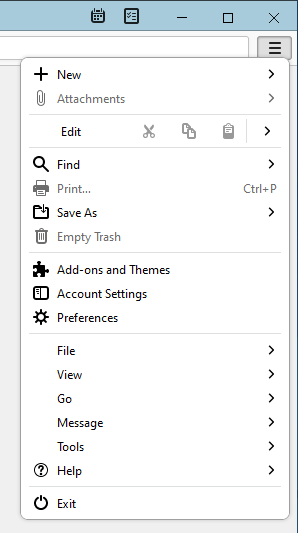
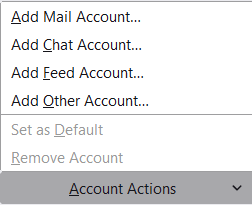
- Now hit the Account Actions dropdown on the lefthand side
- Select Add Mail Account... from the list
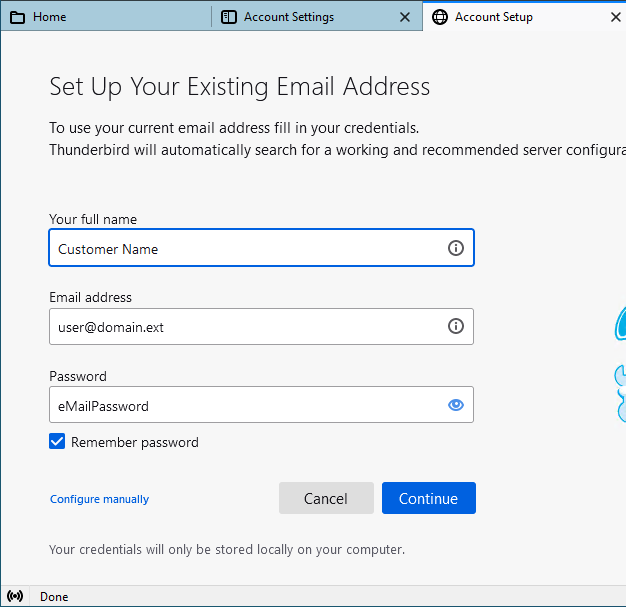
Step 2. Set up your existing @grm.net email address
-
A window will open which will allow you to enter your Existing Email information
- GRM has already provided you with an email address, so you will be able to complete Your full name, Email address, and Password.
- You may also choose to have Thunderbird save your email password by selecting the checkbox next to Remember password.
- Click Configure Manually (this option will appear once a domain is in the email address field)
Step 3. Update your Incoming and Outgoing Server Settings
-
Make sure that the Incoming Protocol drop-down is set to IMAP
-
Edit the Incoming Server Hostname is set to: mail.grm.net
-
Ensure that the Incoming Port is displaying 993
-
Make sure that the Incoming Connection security drop-down is set to SSL/TSL
-
Leave the Incoming Authentication method on Autodetect
-
Edit the Outgoing Server Name to: smtp.grm.net
-
Make sure that the Outgoing Port field is set to 465
-
Make sure that the Outgoing Connection security drop-down is set to SSL/TSL
-
Leave the Outgoing Authentication method on Autodetect
-
Your full email address (ex: myemail@grm.net) should have autofilled into both Username fields (Incoming and Outgoing)

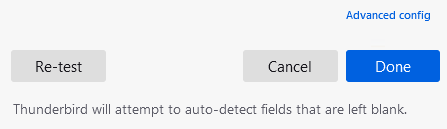
- After all settings are filled in, hit Re-test
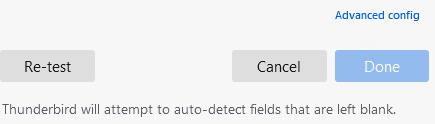
- If there is any error message, double check the settings you entered
- Once all settings were setup properly, the test will be successful. Then, you will now be able to click Done
Congratulations, your Thunderbird email is now set up!