Setup Email Account in Android |
This straightforward guide will help you set up your Android device to receive and send emails using your proper account settings.
Note: For this guide, we recommend using Google's Gmail app, as it comes standard with Android devices. However, you can use these settings with the default mail app installed on your device.
Step 1. On your Android phone or tablet, open the Gmail app .
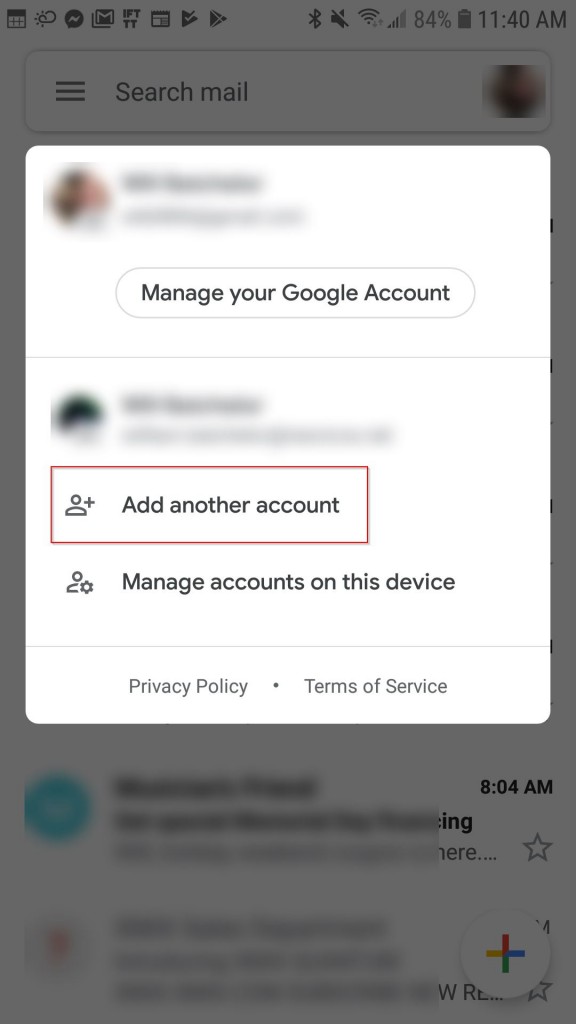
Step 2. In the top right, tap your profile picture (if no picture is setup, it will be a circle with the first letter of your first name).
Step 3. Tap Add another account.
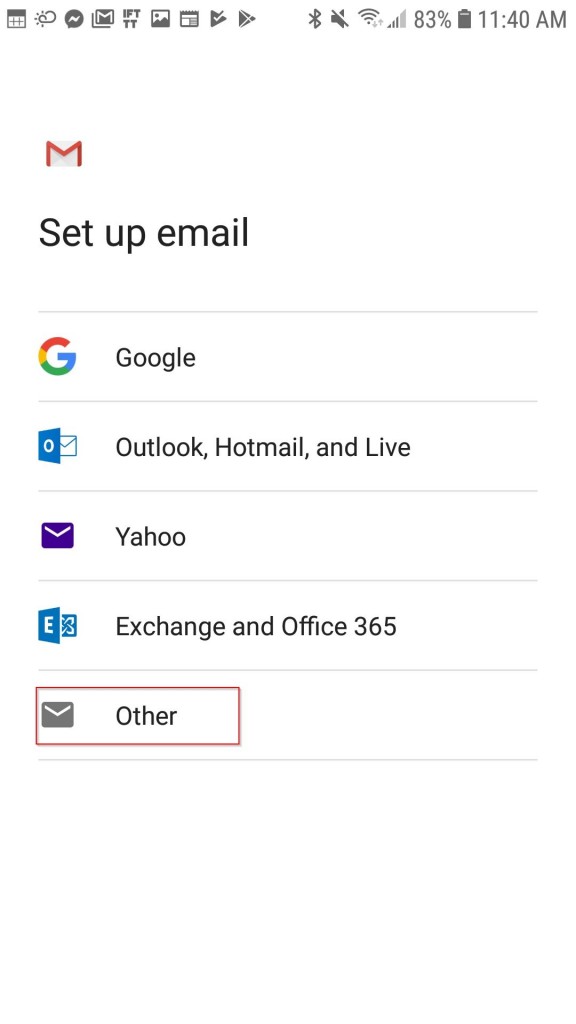
Step 4. Select Other
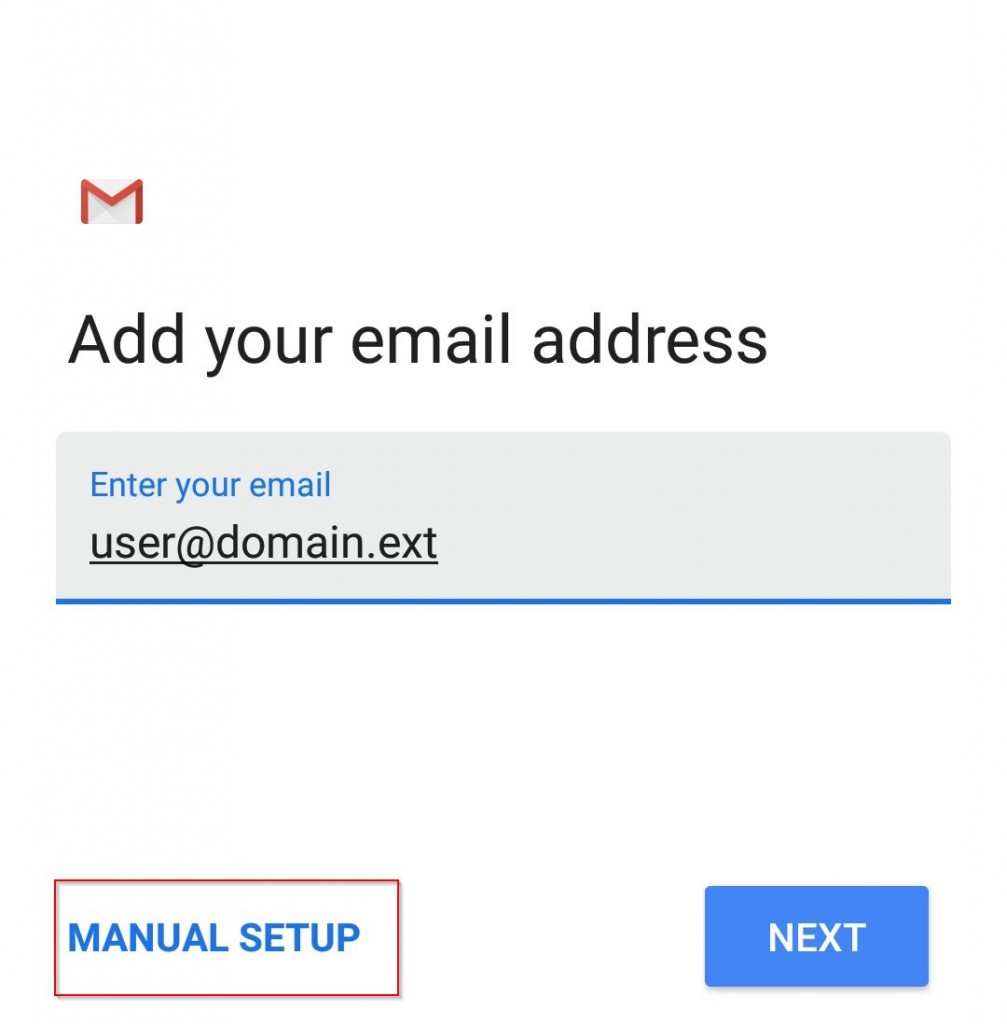
Step 5. Enter your full email address (ex: myemail@intrstar.net) and tap MANUAL SETUP
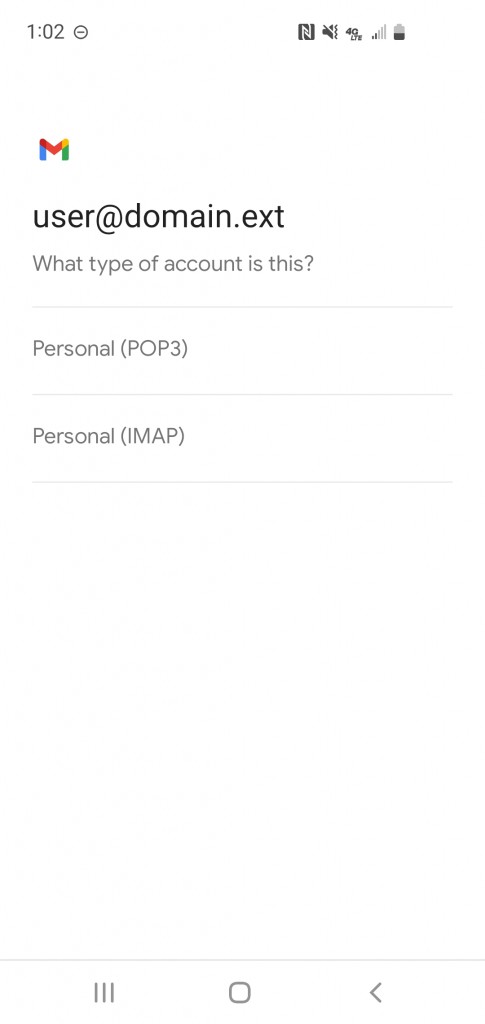
Step 6. Select Personal (IMAP)
Step 7. Populate the necessary fields accordingly:
-
Username: Enter your full email address here (ex: myemail@intrstar.net)
-
Password: Enter the password for your email account and select NEXT
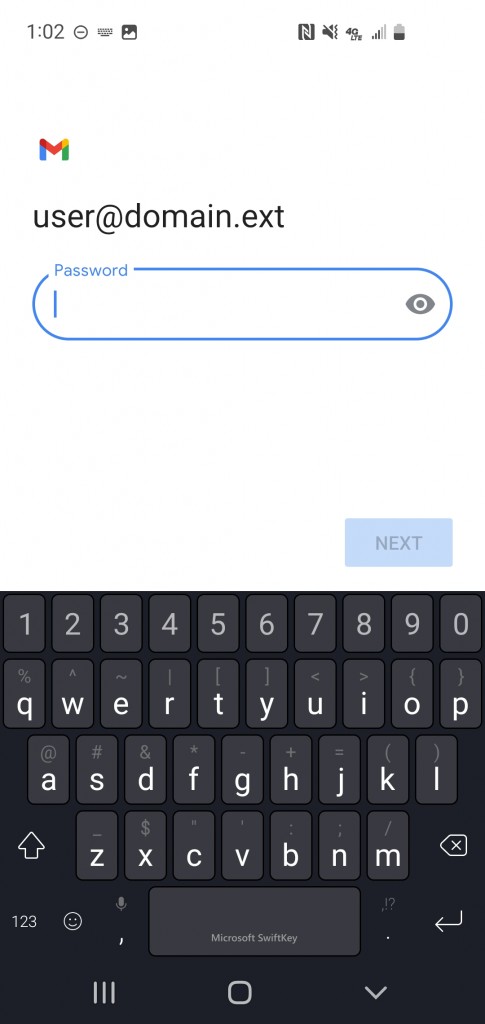
-
IMAP server: Enter mail.intrstar.net
-
Tap Next to continue

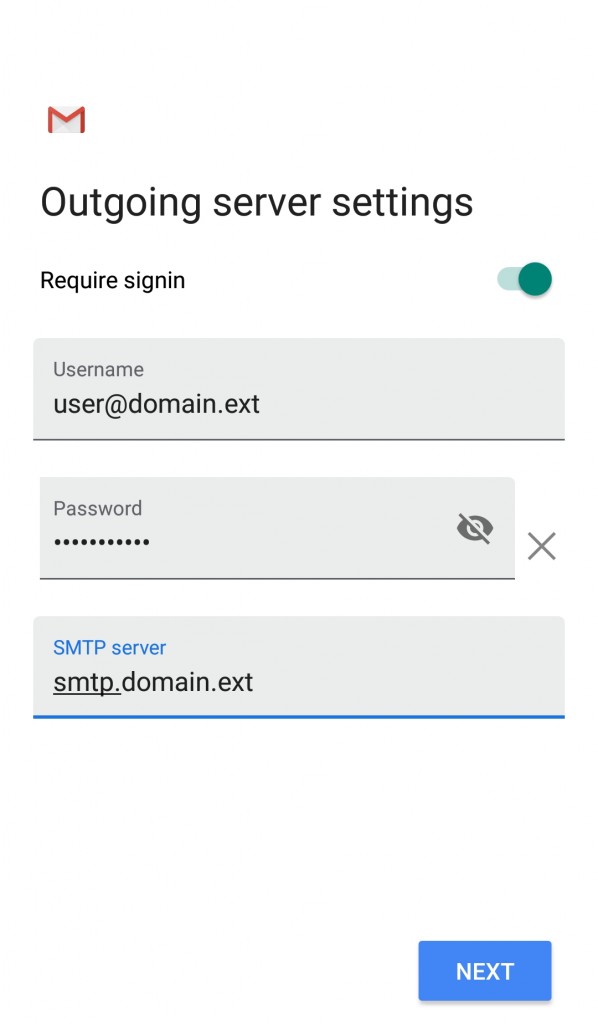
Step 8. Populate the necessary fields accordingly:
-
Username: Enter your full email address here (ex: myemail@intrstar.net)
-
Password: Enter the password for your email account
-
SMTP server: Enter smtp.intrstar.net
-
Tap Next to continue
Step 9. Select your preferences, then tap Next
Congratulations, your Android device is now set up!