This guide will help you set up your Apple Mail program to receive and send email using your new advanced account settings.
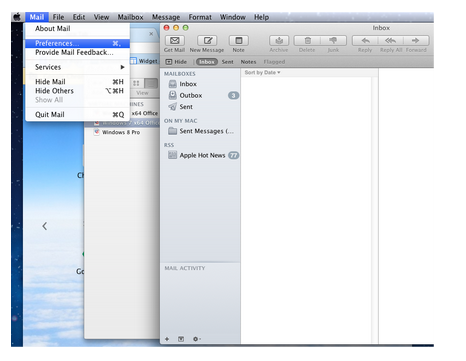
Step 1. Open the Preferences screen:
-
Open Mac Mail
-
Click the Mail drop-down menu, then click Preferences…
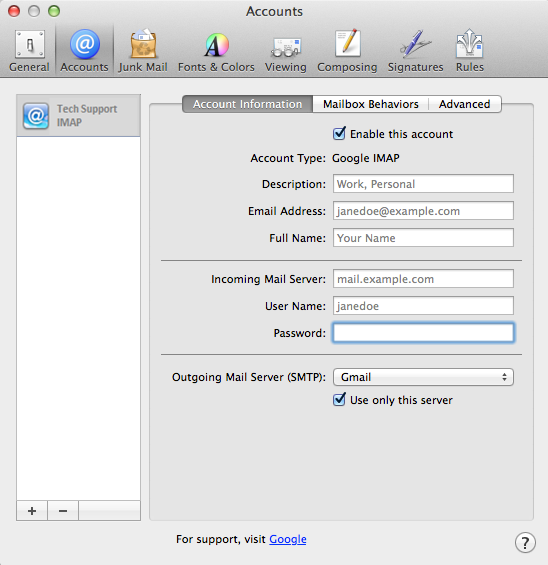
Step 2. Update Account Settings
-
Ensure that the Accounts tab is selected
-
Select your @diodecom.net email account in the left column
-
Edit the Incoming Mail Server to: mail.diodecom.net
-
Ensure that your User Name (ex: myemail@diodecom.net) and Password are correct
Additional note for individuals using OS X Yosemite (The most recent version of Apple OSX)
-
If the Incoming Mail Server box is grayed out, follow these steps:
-
Select the Advanced Tab, uncheck the box to “Automatically detect and maintain account settings”, save change.
-
Go back into Preferences > Accounts, update the Incoming Mail Server to: mail.diodecom.net
-
-
Click on the Advanced tab
-
Ensure the Port is set to 993 and that your account type is IMAP
-
Ensure and the checkbox beside Use SSL is checked
-
From the Authentication drop down menu, click Password
Step 3. Open the Outgoing Mail Server (SMTP) settings:
-
Click the Account Information tab
-
Click the drop-down menu beside Outgoing Mail Server (SMTP)
-
Click Edit SMTP Server List…
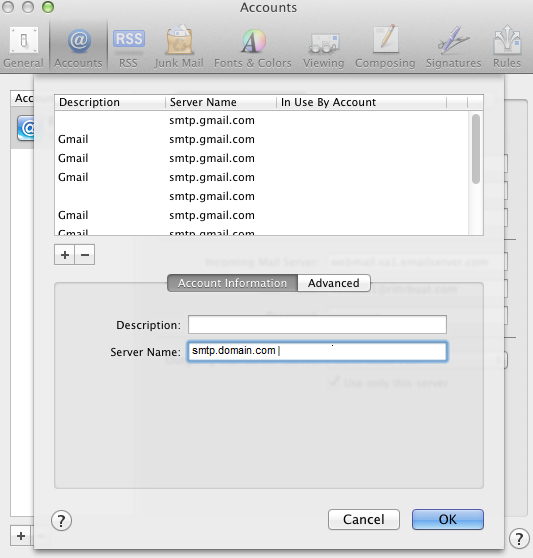
Step 4. Update SMTP Settings:
Additional note for individuals using OS X Yosemite
-
If the Outgoing Mail Server box is grayed out, follow these steps:
-
Select the Advanced Tab, uncheck the box to “Automatically detect and maintain account settings”, save change
-
Go back into the Account Information tab, and complete the steps below (when Mail asks you if you want to save the changes, click Save
-
-
Enter the following in the Server Name box: smtp2.diodecom.net
-
Click Advanced
-
Ensure the Port box is set to 465
-
Check the box that says Use SSL
-
Make sure that Authentication is set to Password
-
Type your full email address (ex: myemail@diodecom.net) into the User Name field
-
Make sure your correct Password is entered
-
Click OK
-
Verify that your Outgoing Mail Server (SMTP) is set to your new e-mail choice with a checkmark that indicates Use only this server
Congratulations, your email is now set up!