Updating Email Server Settings/Passwords in Thunderbird
This guide will help you update Thunderbird to receive and send email using your new account settings.
Step 1. Accessing your Account Settings:
- Open Thunderbird
- Right-click to select your @diodecom.net email address in the left column, then click Settings
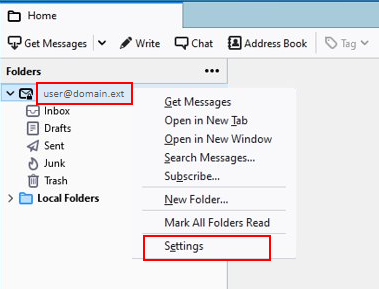
- Click Server Settings on the left, below your @diodecom.net email
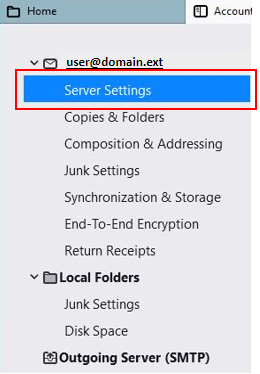
Step 2. Update/Verify Email Server Settings
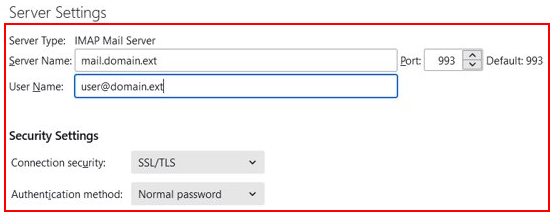
- If you are only needing to change your email PASSWORD, click here
- Edit/verify the server settings for your Incoming (IMAP) server
- Server Name: mail.diodecom.net
- User Name: Your FULL email address
- Port: 993
- Connection Security: SSL
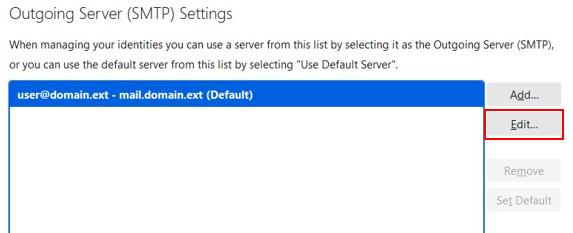
- Click Outgoing Server (SMTP) on the lefthand side
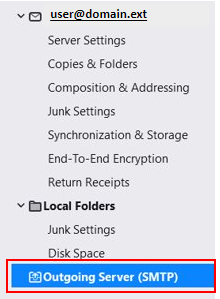
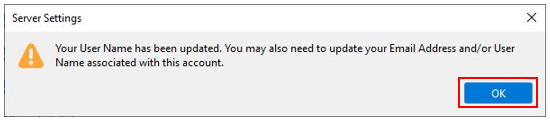
- You may see this popup- if you do, click OK
- Select Edit...
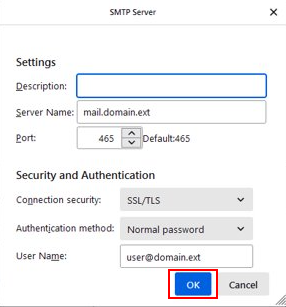
- Verify/edit your Outgoing (SMTP) Settings
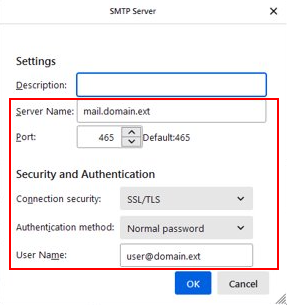
- Select OK
- If you are changing your password, Thunderbird will prompt you with a pop-up when it notices your password is not authenticating.
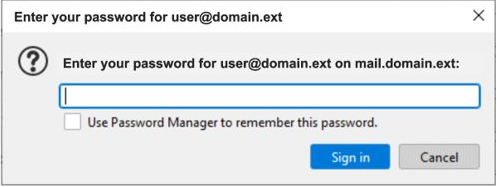
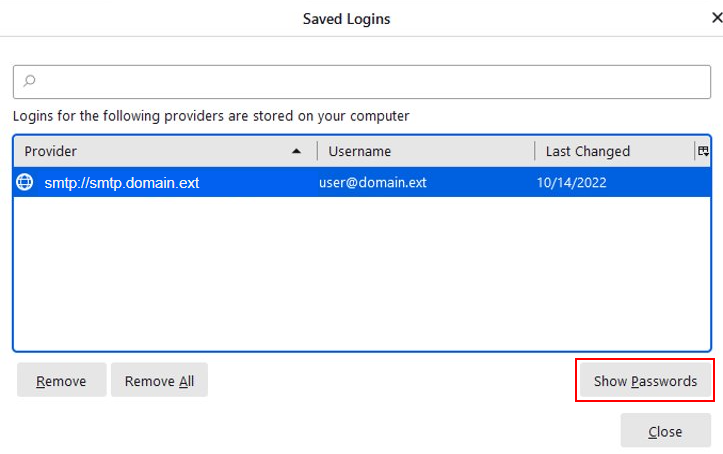
- If you are unable to view the pop-up after making a change to your password, you can access your password manually.
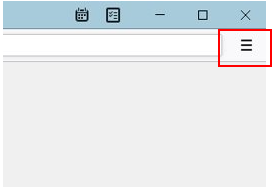
- On your main account tab, select the Pancake Icon (3 bars) in the top right corner
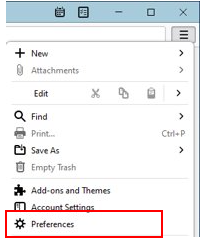
- Select Account Preferences
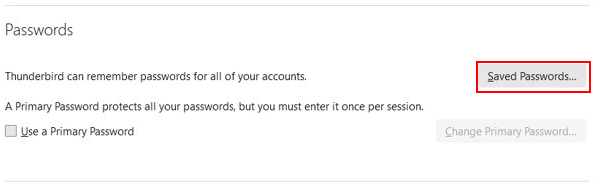
- Scroll down to Passwords and select Saved Passwords
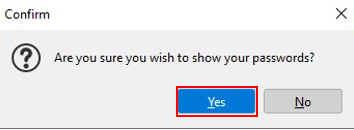
- Select Show Passwords
- Select Yes from the popup
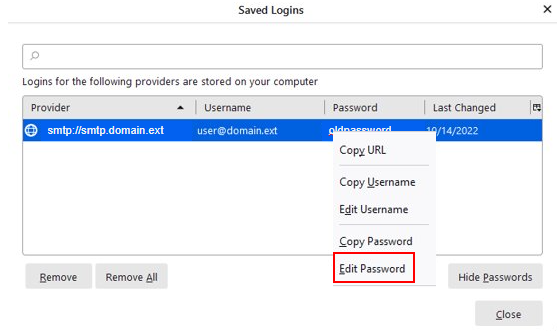
- Select
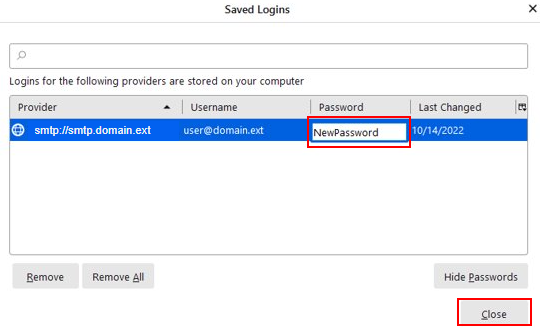
- Enter your new password, then select Close
Congratulations, your Thunderbird email is now updated!