Using CalDAV to Sync Your Calendar Content with Mozilla Thunderbird
This easy step-by-step guide will help you sync your existing Calendar items with another email address on Mozilla Thunderbird.
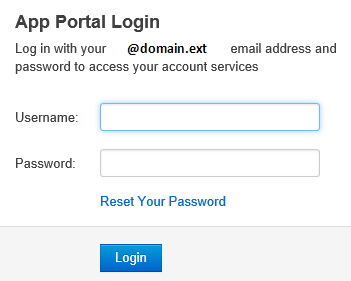
Step 1. Login to your webmail with your full user@hcil.net email address in the Username field and your Password.
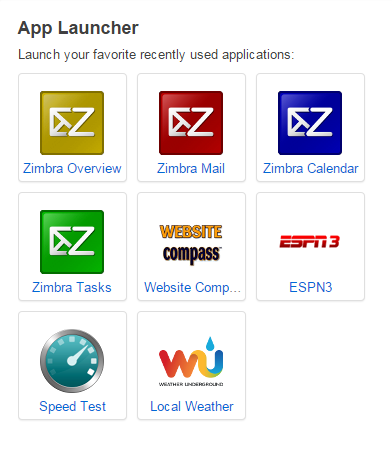
Step 2. To sync your Calendar items, click on Calendar in the App Launcher
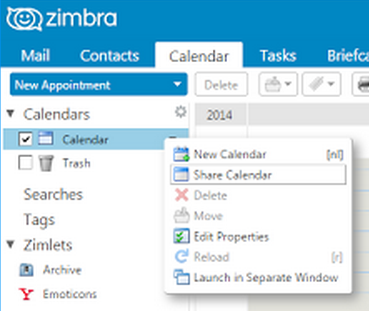
Step 3. Click the down arrow next to the calendar you wish to sync and select Share Calendar
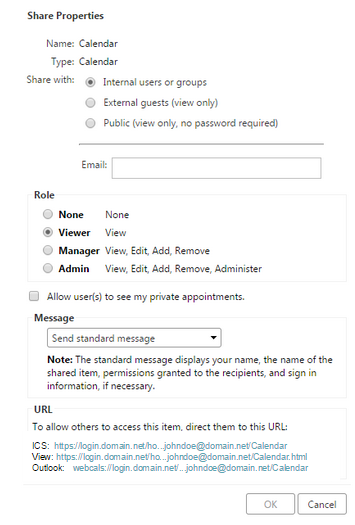
Step 4. Enter the email address that you want to share the calendar with. Leave the radio button selected as Internal Users. Right click on the LINK at the bottom of the popup window, and click Copy link address.
Step 5. Open Thunderbird
- Click the Calendar button

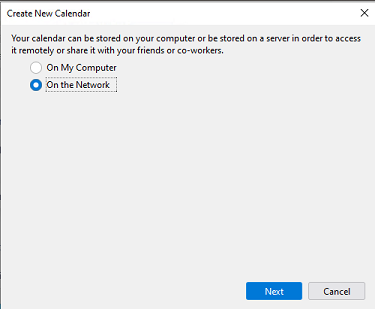
Step 6. A new Calendar window will open asking how it needs to be set up.
-
Select the radio button for On the Network and then click Next.
- Enter the Email Address of the calendar you are wanting to share. In the Location field, paste the URL that you copied earlier. Right click and choose Paste. Check the box for Offline Support.
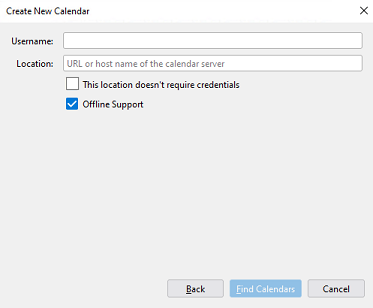
- Click Find Calendars for the app to search for calendars. It may ask you to enter your email password. Once completed, you are finished.