- This easy guide will help you set up your iPhone or iPad to receive and send email using your proper account settings.
Step 1. Locate your email settings:
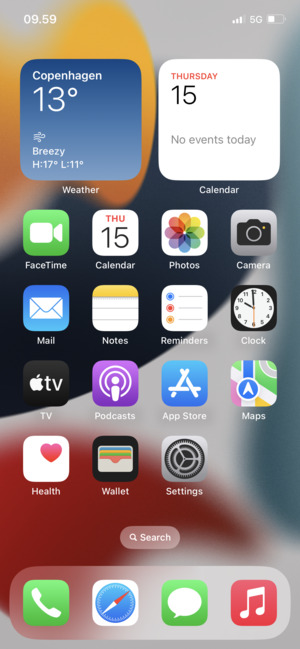
- On your iPhone or iPad, open Settings (typically on your homescreen)
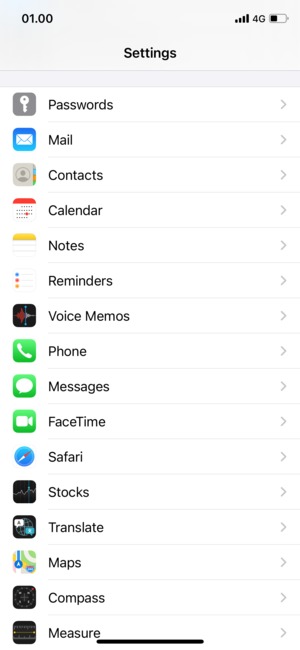
- Tap Mail
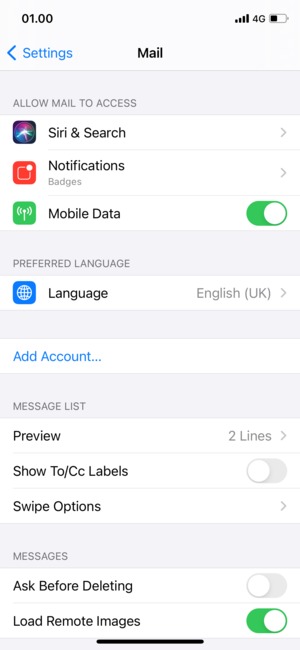
Step 2. In the Accounts section:
- Tap Other
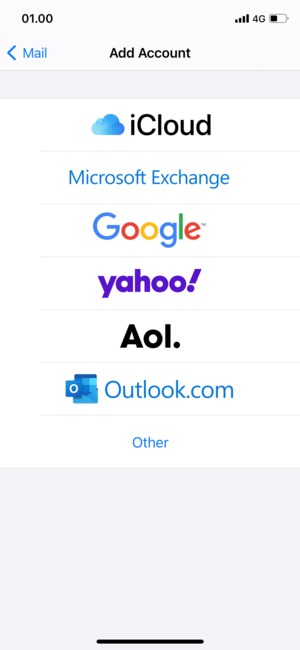
- Tap Add Mail Account
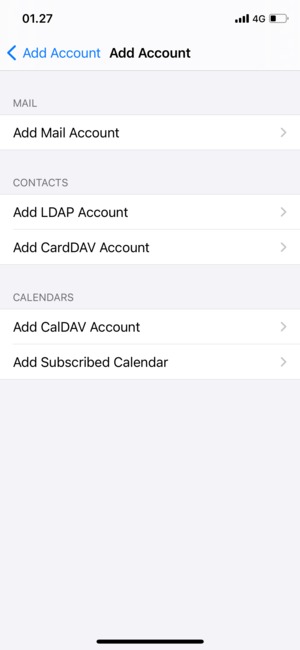
Step 3. Enter
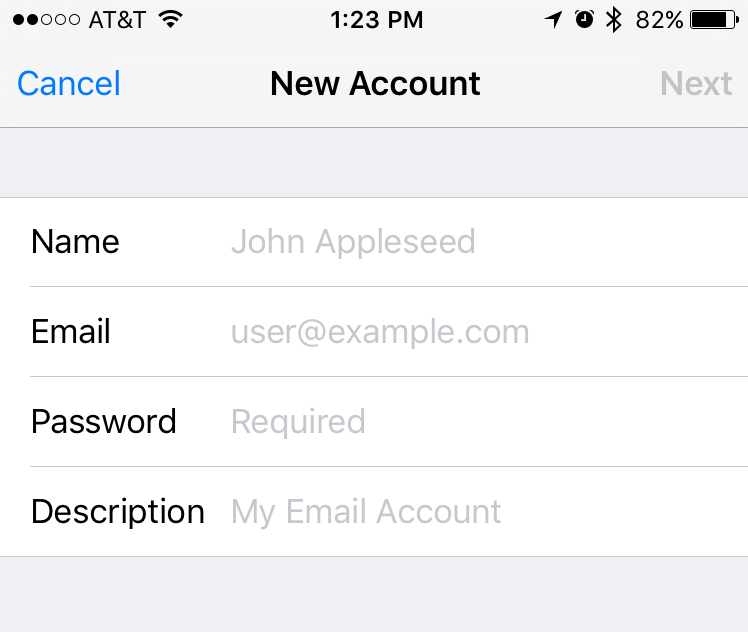
- Hit NEXT

Step 4. Enter Mail Server Information
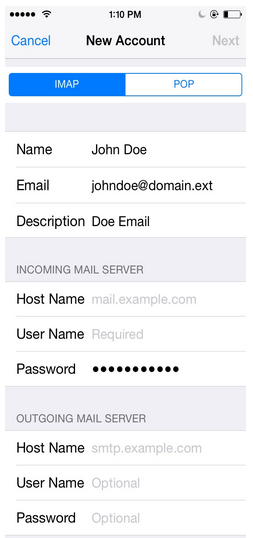
- Select IMAP on the top of screen
- Update your INCOMING MAIL SERVER settings:
- Edit the Host Name field to: mail.eplus.net
- Ensure the User Name is your full email address
- IMPORTANT: Ensure that the Email username is your full email address (ex: myemail@eplus.net) and that your Password is correct
- Update your OUTGOING MAIL SERVER settings
Note: For accessing your email, outgoing mail server settings are required for sending mail
- In the Host Name field enter: smtp.eplus.net
- In the User Name field enter: Your full email address
- In the Password field enter: Your email password
Congratulations, your email is now configured!
|


