Setup Email Account in Outlook 2019 or 365
This guide will help you set up a new email account with the proper server settings in Outlook 2019 or 365.
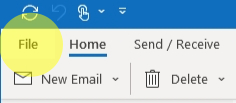
Step 1. Navigate to your Account Settings:
Outlook 2019: Click File
Outlook 365:
Click the gear at the top right of outlook.

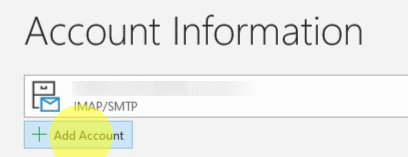
Both:
Click + Add Account
Step 2. The New Account window will open:
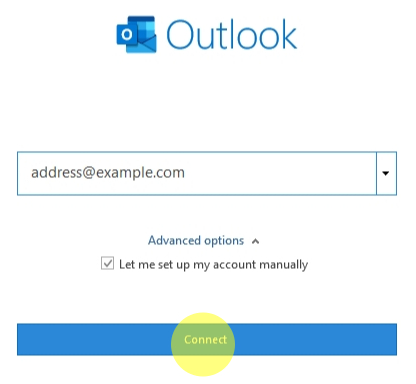
Outlook 2019:
Enter your email address and hit Advanced Options.
- Check the box that says "Let me set up my account manually"
- Then hit Connect
Outlook 365:
Enter your email address and hit Next. On the password screen, click Show More.

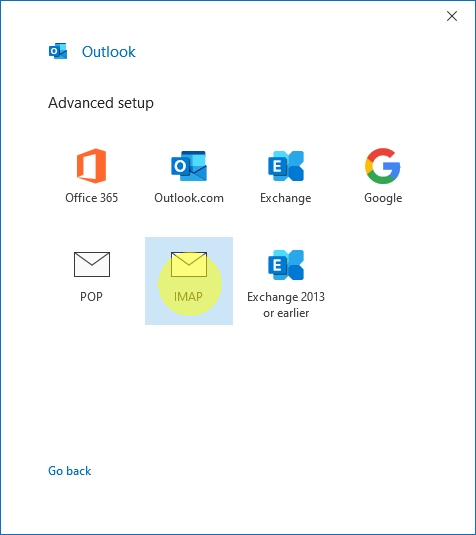
Step 3. The Advanced Setup window will change and require you to choose service
-
Select IMAP
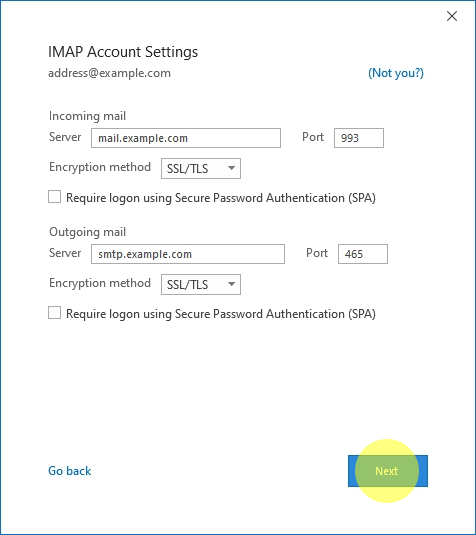
Step 4. Enter your IMAP Account Settings
- Under Incoming mail:
- Enter mail.eplus.net in the server field
- Input 993 in the Port field
- Select SSL/TLS from the Encryption method dropdown menu
- Under Outgoing mail:
- Enter smtp.eplus.net in the server field
- Input 465 in the Port field
- Select SSL/TLS from the Encryption method dropdown menu
- Click Next
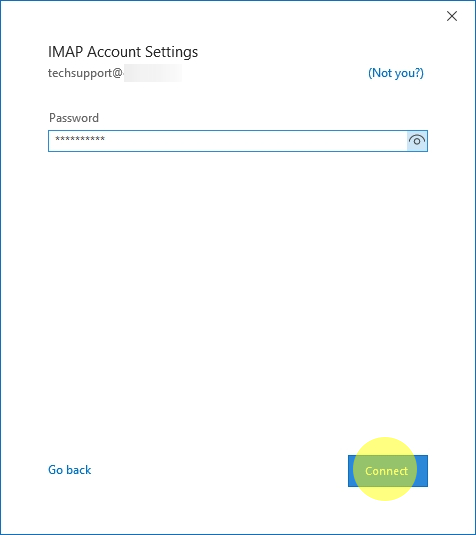
- Enter your password and click Connect
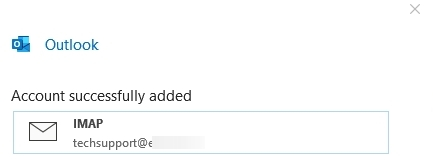
Congratulations, your Outlook email is now set up!