Updating Email Server Settings/Passwords in Mac Mail
This guide will help you set up your Apple Mail program to receive and send email using your new advanced account settings.
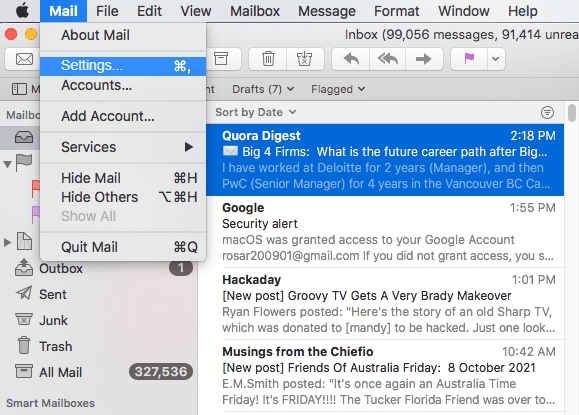
Step 1. Choose Mail > Settings.
Step 2. Update Account Settings
-
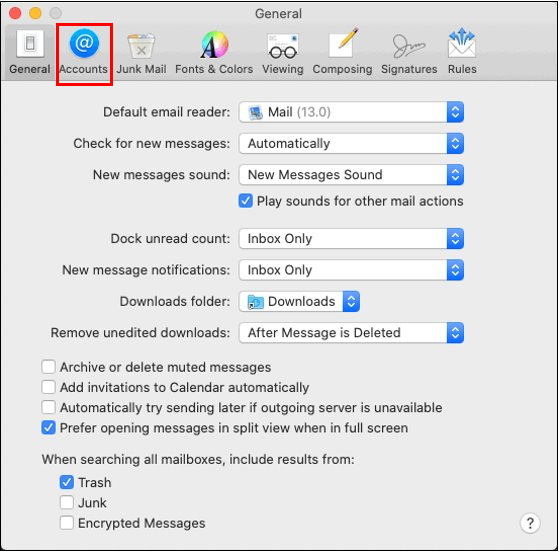
Ensure that the Accounts tab is selected
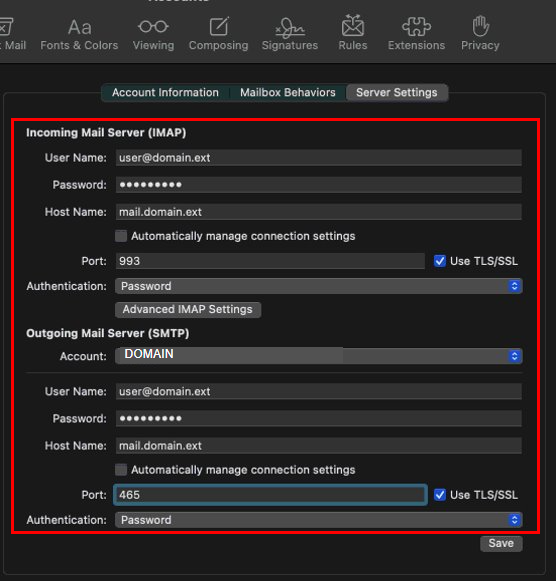
- Select Sever Settings, then verify/edit the settings and/or email password
- Incoming Mail Server (IMAP)
- User Name: Full @myninestar.net email address
- Password: Email Password
- Host Name: mail.myninestar.net
- UNCHECK THE BOX TO "AUTOMATICALLY MANAGE CONNECTION SETTINGS"
- Port: 993
- Check the box to use TSL/SSL
- Authentication: Password
- Outgoing Mail Server (SMTP)
- User Name: Full @myninestar.net email address
- Password: Email Pasword
- Host Name: smtp.myninestar.net
- UNCHECK THE BOX TO "AUTOMATICALLY MANAGE CONNECTION SETTINGS"
- Port: 465 or 587
- Check the box to use TSL/SSL
- Authentication: Password
- Incoming Mail Server (IMAP)
- Select Save
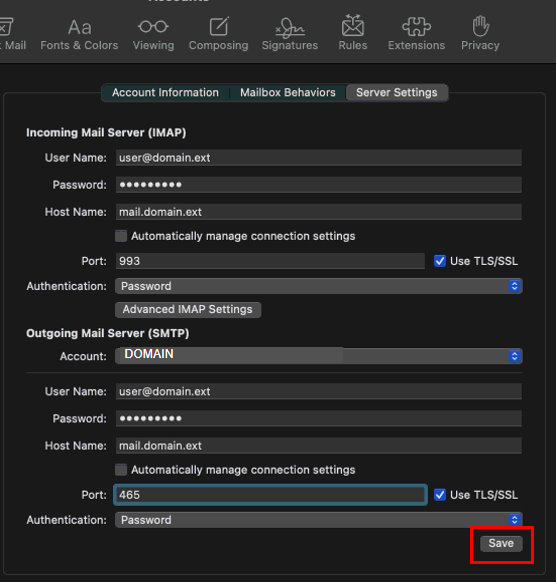
Congratulations, your Mac Mail email is now updated!