Updating Email Server Settings/Passwords in your Windows 10/11 Device
This guide will help you update your Windows 10/11 - Mail App program to receive and send email using your new account settings.
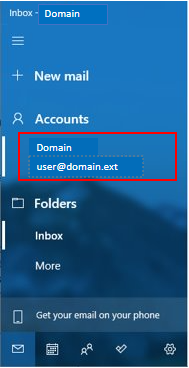
Step 1. Open your Mail App:
-
Select Accounts in the left slide out tab
-
Select your @myninestar.net email account
-
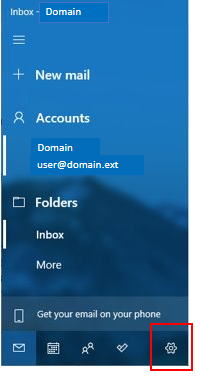
Select Settings in the bottom of the window
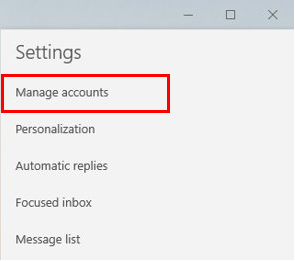
- Select Manage accounts
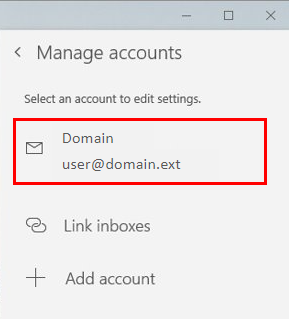
- Select your @myninestar.net account
Step 2. Update your email Password
- If you are only updating your server settings, not your password- click here
- If you are updating your password, edit by clicking in the Password field and entering the new password
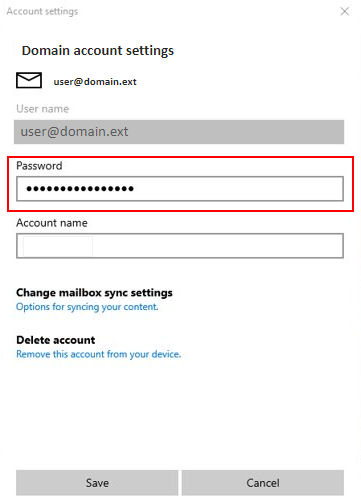
- Click Save

- If you only needed to update your password, your Windows 10/11 is now up to date!
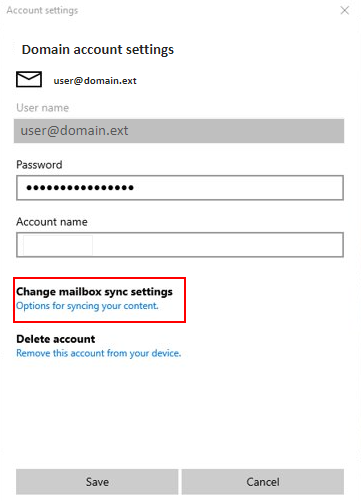
- If you needed to update/verify your server settings, continue below
- Click Change mailbox sync settings
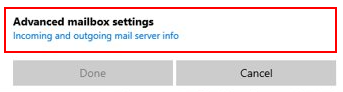
- Scroll down, and select Advanced mailbox settings
- Verify/update your IMAP and SMTP server settings here
- Incoming email server: mail.myninestar.net
- Outgoing (SMTP) email server: smtp.myninestar.net
- All 4 checkboxes should be checked
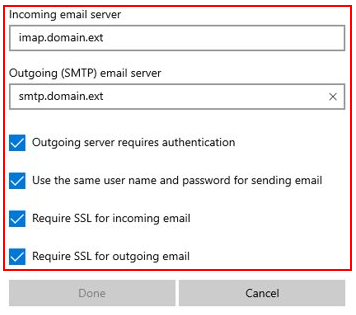
- Select Done- if Done is greyed out, you can click the X in the top corner of the settings pop-out window
Congratulations, your Windows 10/11 is now set up!