|
From the Contacts section of the webmail tool, you can store contact details, add Contact Lists and share them with others. Only a name is required to create a contact, or you can create detailed contact forms that include full name, multiple email addresses, work / home / other addresses, phone numbers, an image, and so forth. You can also create Contact Groups (otherwise known as distribution lists). The Emailed Contacts list is populated automatically when you send an email to a new address that is not in one of your other address books. Your email administrator might set a maximum limit for the number of entries you can have in all your Contact Lists. When you reach this maximum, you cannot add any more contacts.
We have included step-by-step instructions below on tackling the most common webmail Contact tasks (see them listed directly to the right). Click on a feature description (e.g., Adding a New Contact) and it will allow you to jump to specific instructions below. Then, click the browser back button to return to the top of the page.

How to Add a New Contact
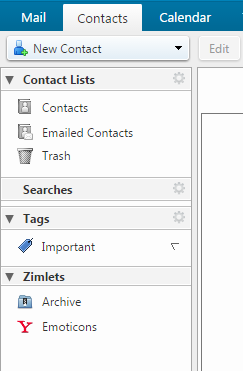
Step 1. Go to the Contacts page and select New Contact
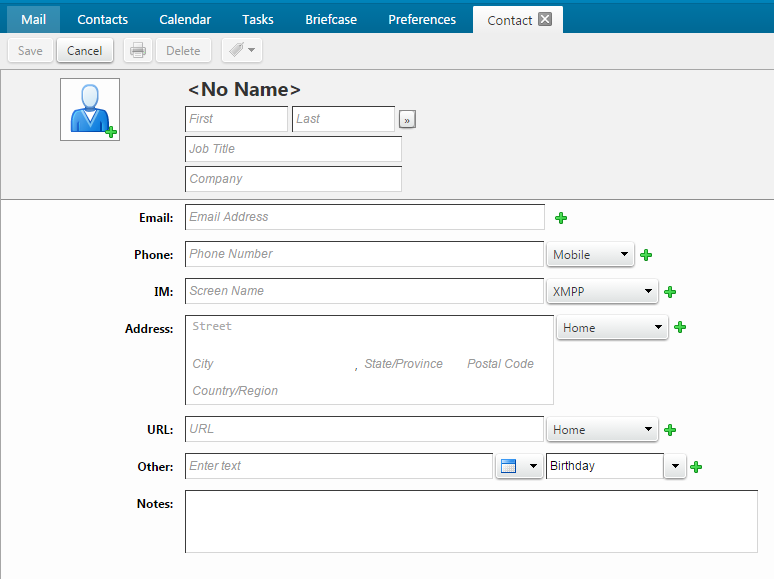
Step 2. Enter the contact information and optionally upload a photo. A plus sign next to a text box indicates that you can add more than one entry. For instance, in the Phone text box, you can add mobile, home, work, and other phone numbers.
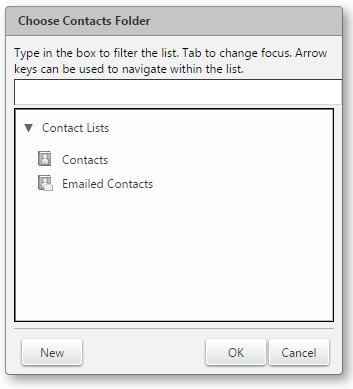
Step 3. Select how and where you want to save the Contact in the upper right of the screen.
Step 4. Click Save
You can add email addresses to a Contact List directly from the Sent By, To, Cc, and Bcc fields.
Step 1. In an email message, right-click the name to add and choose Add to Contacts. A new contact form opens with auto-populated information available from the email header.
Step 2. Add additional information and check the auto-populated fields for accuracy
Step 3. Choose how and where you want to save the contact
-
For File as, select how to file the name. The default is by last name, first name.
-
For Location, select which address book to save the contact.
Step 4. Click Save
You can automatically save the Contacts that you send email to in your Emailed Contacts list. Any time you respond to, or compose a message that includes a Contact that is not in your Contacts list, it is added to your Emailed Contacts list. If you are using the auto-complete feature, maintaining an Emailed Contacts list helps you quickly find addresses that you have emailed to in the past.
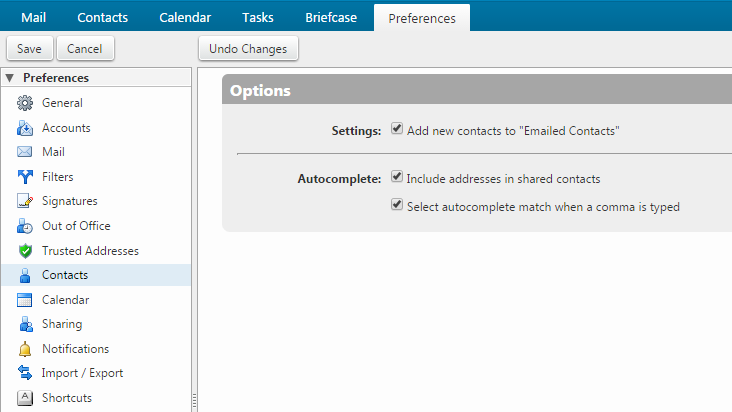
Step 1. Go to the Preferences > Contacts page
Step 2. Under Options > Settings, select Add new contacts to “Emailed Contacts”
Step 3. Click Save
How to View Contacts in your Contact Lists
Step 1. Go to the Contacts page and select the Contact List you want to view. The content pane updates with the Contact List content.
Step 2. Check to see if an Email Address is in your Contact List.
-
Hover your mouse over an email address. The information associated with the name displays.
-
If the name is already in one of your lists, the contact information displays
- If the name is not in one of your lists, only the email address displays
Step 1. Go to the Contacts page and select the list from which you want to move a contact
Step 2. Right-click a contact and select Move
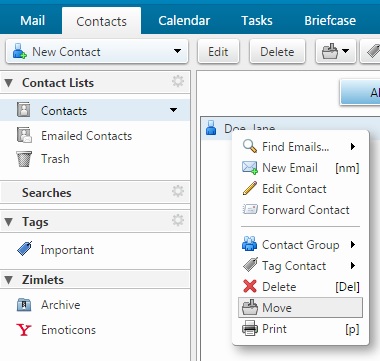
Step 3. Select the new destination contact list
Step 4. Click OK
How to Edit Contact Information
Step 1. Go to the Contacts page and select the list from which you want to move a contact
Step 2. Right-click the contact you want to edit and click Edit Contact
Step 3. Make changes to the contact
Step 4. Click Save
Step 1. Go to the Contacts page and select the list that contains the contact you want to forward
Step 2. Right-click a contact and select Forward
Step 3. A compose pane opens with the .vcf file attached
Step 4. Select the new destination contact list
Step 5. Click OK
You can print a complete Contact List or just print the information for one contact.
Step 1. Go to the Contacts page and select a contact or list to print
Step 2. Click the Print icon 
Any contact lists and names you create can be deleted. Contacts can be deleted in one of three ways:
Step 1. Select the contact to be removed, and click Delete on the toolbar
Step 2. Drag the contact name to the Trash folder
Step 3. Right-click on the contact and select Delete
You can import contact lists that are saved in a comma-separated (.csv) file. After the contacts are imported, they are alphabetized by last name.
Step 1. Go to Preference > Import/Export page
Step 2. In the Import > File text box, browse and locate the .csv file to import
Step 3. Select the type of contact list you are importing. You can select to auto-detect the contact list, or select from the contact lists in the drop-down menu.
Step 4. Select the Destination to import the contacts or create a list
Step 5. If creating a new list, click New and enter a name, color and location for the new folder
Step 6. Click OK
Step 7. Click Import. Depending on the size of the .csv file, the import might take a few minutes. When the import is complete, the Status Box shows the number of contacts successfully imported.
You can export your Contacts to a comma-separated (.csv) file.
Step 1. Go to Preference > Import/Export page
Step 2. In the Export > Type section, select what you want to export. You can export your contacts in the standard "Comma-Separated Values" (.csv) format, then import them into another contact manager program.
Step 3. Select the Source folder of the contacts to export
Step 4. Click OK
|