Using CalDAV to Sync Your Calendar Content With Outlook 2016 / 2019 / 365
This easy step-by-step guide will help you set up Outlook 2016 / 2019 / 365 to sync your Calendar items.
Please note that Outlook does not provide CardDAV support for syncing contacts. Your contacts will remain unaffected in Outlook.
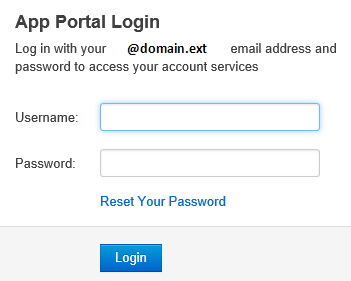
Step 1. Login to your webmail with your full myemail@mydirectlink.net email address in the Username field and your Password
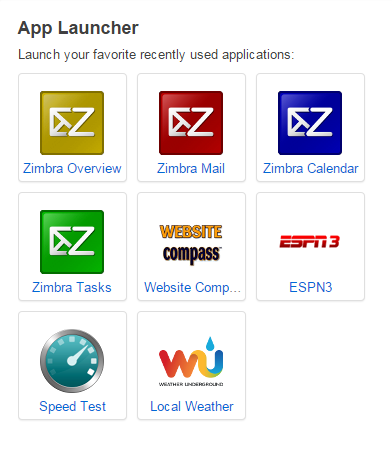
Step 2. To migrate your Calendar items click on the Calendar in the App Launcher
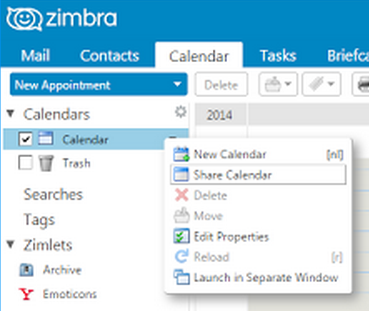
Step 3. Click the down arrow next to the calendar you wish to sync and select Share Calendar
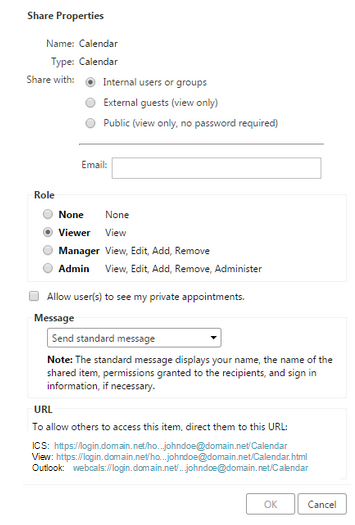
Step 4. Right click on the Outlook: link at the bottom of the popup window, and select Copy link address
Step 5. Open Outlook
-
Click the File menu (top left)
-
Click Account Settings.
and then click on Account Settings again.
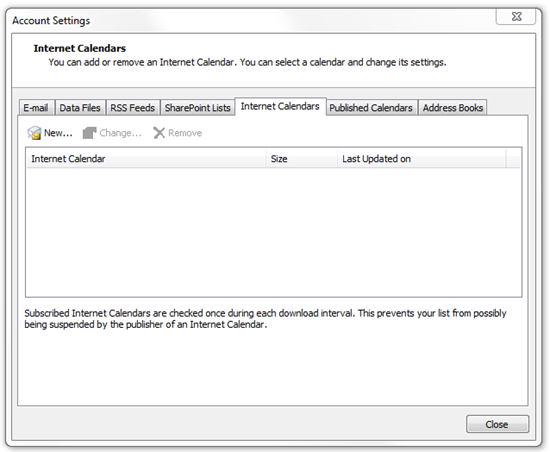
Step 6. The Account Settings window will open
-
Click on the Internet Calendars tab
-
Click New
-
Paste the website address copied in step 4
- Click Add
- Click Close
Congratulations, you have synced your Calendar in Outlook!